Route Rows
A Route row is for a walking-route page: the write-up and the map live together in one row. Visitors see the title, a short summary, distance, time and difficulty, the start location, optional facilities and accessibility features, then the interactive GPX map. Written directions can sit under the map.
This is a different job from a Map row. A Map row is the map only, which you drop into any page. A Route row is the whole route: details first, then the same map editor underneath.
Kent Ramblers use Route rows on pages such as Recommended Routes.
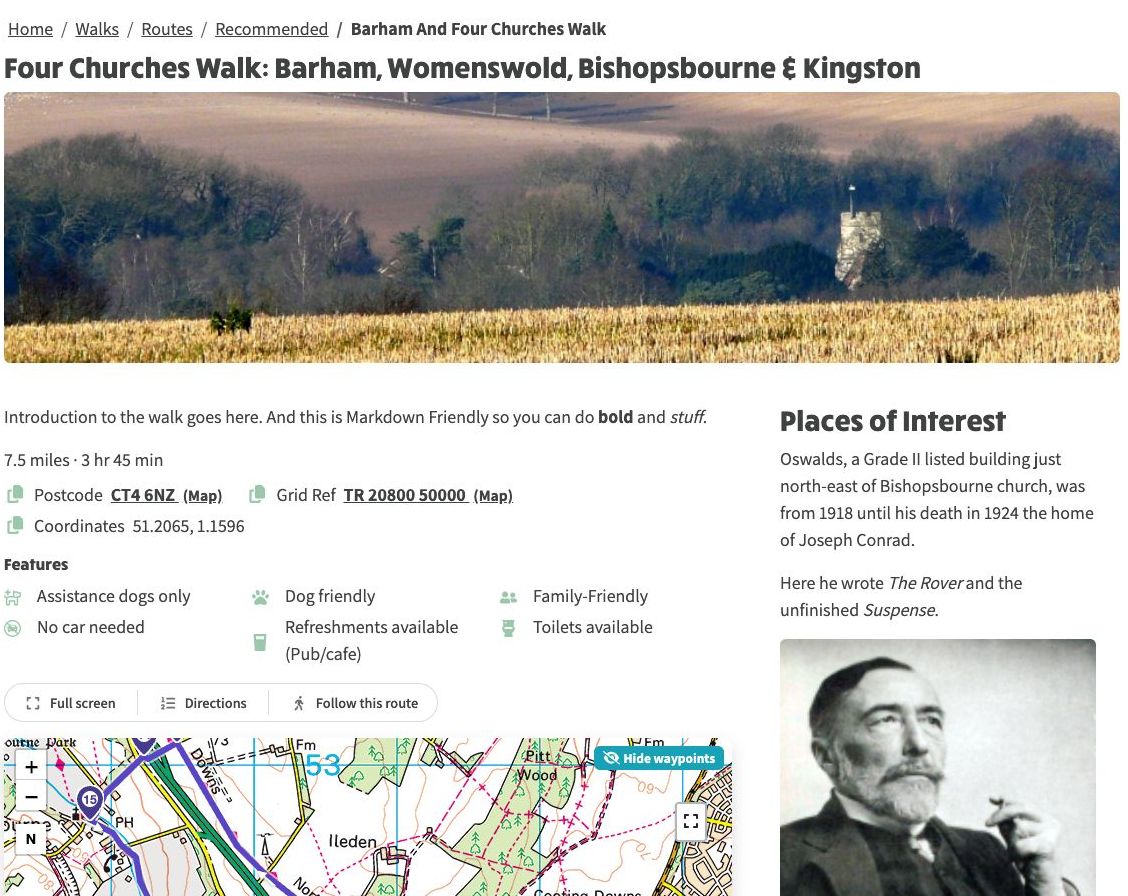
A Route row on the Kent Ramblers Barham and Four Churches Walk: summary, distance, start location, features and the GPX map.
Adding a Route Row
- Enter edit site mode.
- Add a new row, or change an existing row's Row Type to Route.
- The row opens with a Route details panel above the map editor.
- Fill in the details, add a GPX (or converted) route on the map, then Save page changes.
Route details
The Route details panel holds the write-up that appears above the map:
- Title - shown as a heading unless the page already has a matching heading.
- Difficulty - the same grades used on walks (optional).
- Distance - miles and kilometres, using the shared distance editor.
- Avg mph and Time to walk it - hours and minutes. Tick Work it out from the distance and pace to keep the time in step with distance and pace.
- Summary - the visual editor, for a sentence or two about the walk.
- Features - facilities, transport and accessibility, using the same feature lists as a walk. A small number of walk-only features are omitted.
- Start location - postcode, grid reference, What3Words and map pin, using the same start-location editor as a walk.
If a GPX file is already on the map, Fill details from route offers distance and related values from the track so you can accept or skip each suggestion.
The map
Everything under Route details is the same map editor documented on GPX Route Maps:
- Upload GPX, or ESRI/GeoJSON files that convert on import
- Style colour, thickness and opacity per route
- OpenStreetMap or Ordnance Survey tiles
- Height, centre, zoom, auto-fit bounds, controls and waypoints
On a Route row the map defaults to Ordnance Survey tiles and hides map controls until a visitor turns them on. You can change both of those in the map settings.
Written directions, if you add them, appear in a framed section under the map. They stay hidden while someone is following the route on the map, unless you choose otherwise.
When to use Route rather than Map
- Use Route for a dedicated walk-route page: one path, one write-up, one map.
- Use Map when the map is one section among text, photos or an index, or when you want several routes on a page without a route write-up attached to the row.
- Use a Location row as well if an index map should pin this page; a Route row's start location is for the route itself.
See also