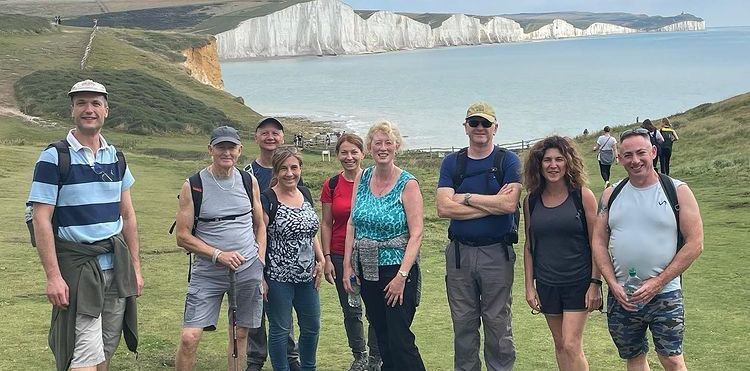
In-line images appear within a text column, either above or below the text content. Rather than being part of a separate image album or carousel, they are embedded directly into your page structure — making them ideal for illustrations, screenshots, logos, or any visual that supports the surrounding text.
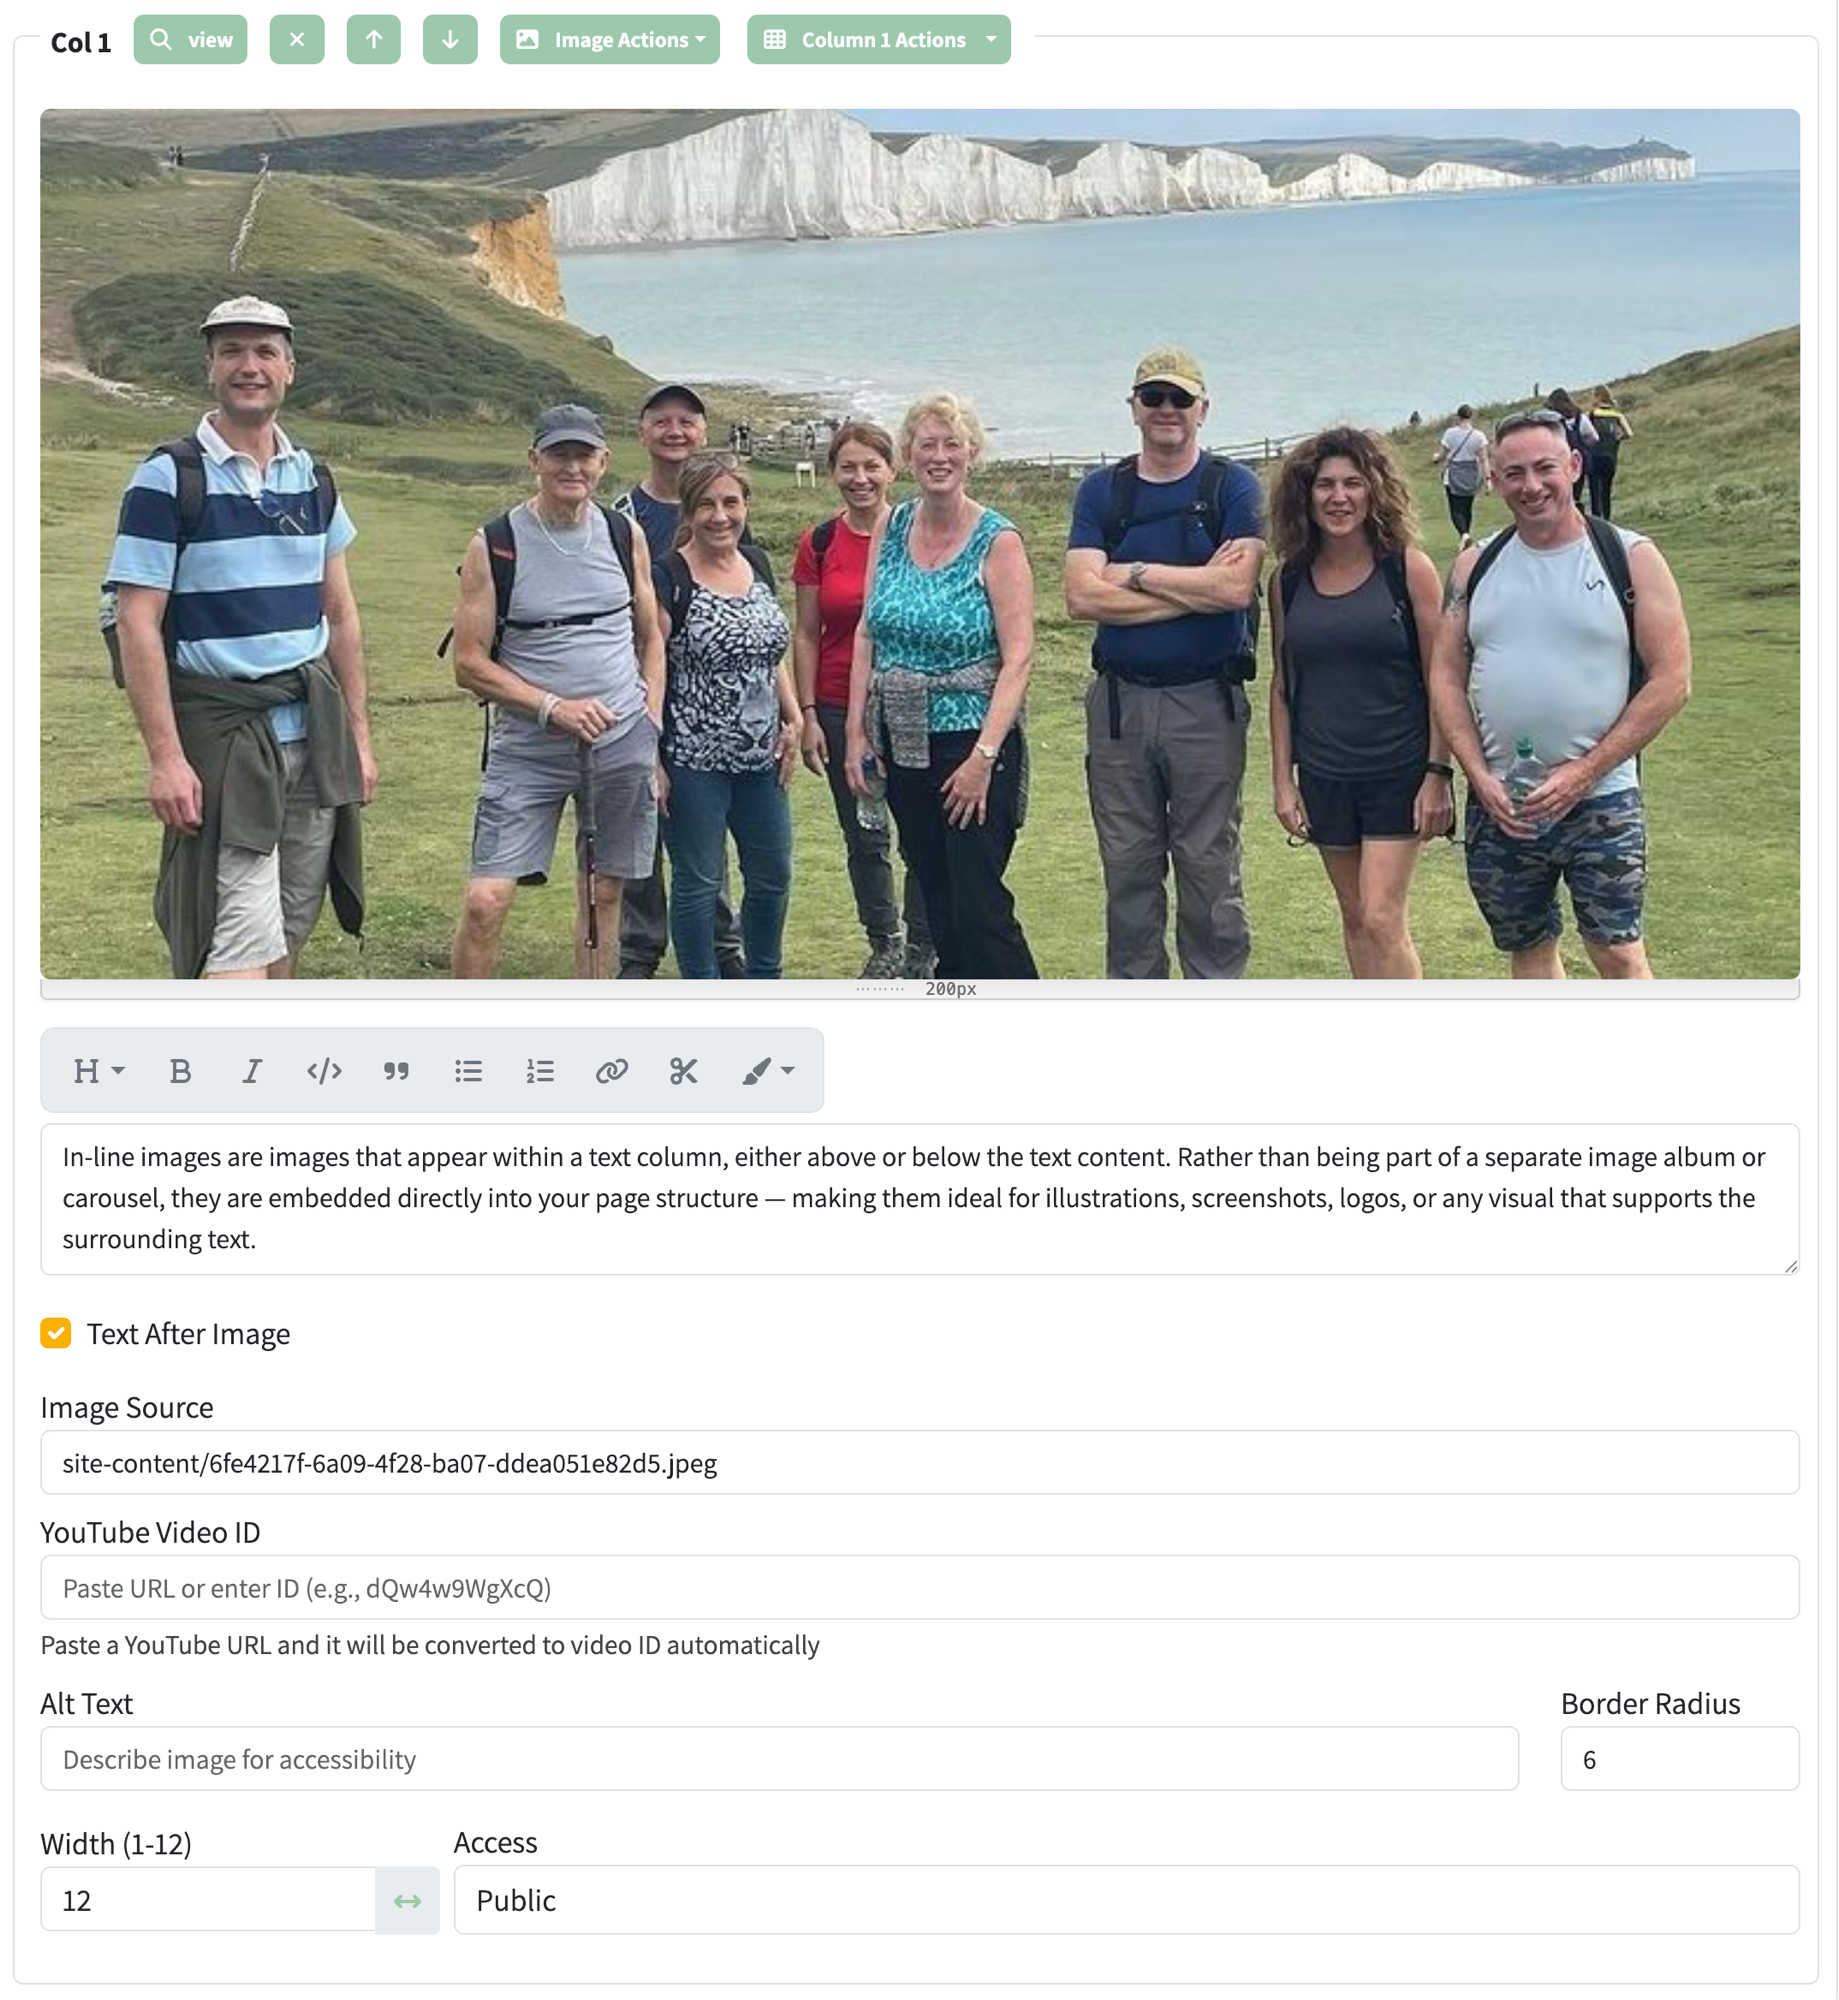
The image above is an example of an in-line image. This is what it looks like when you are in site edit mode — you can see the image, the text editor, the Text After Image checkbox, the Image Source field, and other settings such as Alt Text, Border Radius, Width, and Access level.
This article assumes you are familiar with the basics of editing page content. If you haven't already, read these articles first:
Every column in a text row has an optional Image Source field. When you set this field, a single image appears within that column, either above or below the text content.
This is different from album images, where you have a collection of images that can be cycled through in a carousel or viewed in a gallery. An in-line image is a single image embedded directly into the page structure.
An in-line image is useful for:
Look for the Image Actions dropdown
Click Add Image from the dropdown (this option appears when the column has no image yet)
You can provide the image in several ways:
Once the image is set, the Image Cropper will appear so you can adjust the crop area
Click Apply to confirm your crop, then Save the page
This is one of the most useful features and it is easy to overlook. Rather than saving an image to a file and then uploading it, you can paste an image directly from your clipboard into the Image Source field.
After pasting, the Image Cropper opens immediately so you can crop the image down before saving — this is useful because the image on your clipboard may be larger than you need.
This is by far the quickest way to add screenshots or illustrations to your page. There is no need to save to a file first — just copy, click, and paste.
Important: Unlike album images where you work on multiple images and save them all as a batch at the end, in-line images are saved individually in real time — each image is uploaded and saved as soon as you confirm it.
Each column has a Text After Image checkbox that controls the order of the image and text within the column:
Experiment with this setting to see which layout works best for your content.
Once an image is added to a column, several settings are available to fine-tune its appearance:
The Image Border Radius field controls how rounded the corners of the image appear. A value of 0 gives sharp corners, while higher values (e.g. 6 or 12) give progressively more rounded corners. A value of 6 is a good default for most images.
The Height Resizer control lets you drag to set the image display height, between 50 and 800 pixels. The default is 200px. For introductory images you may want a larger value (e.g. 300–400), while for small illustrations a lower value may be more appropriate.
The Alt Text field provides a text description of the image for accessibility. Screen readers use this to describe the image to visually impaired users, and it also appears if the image fails to load. Keep it short and descriptive, e.g. "Group photo at Seven Sisters" rather than just "photo".
The YouTube Video ID field allows you to embed a YouTube video in place of (or in addition to) an image. Simply paste a YouTube URL or enter the video ID directly and it will be converted automatically.
When you add or edit an image, the Image Cropper appears automatically. This is the same cropper used for album images — see Cropping And Resizing Images for full details. You can drag the crop area and resize it to focus on the part of the image that matters most.
To place an image next to text (rather than above or below), use a multi-column row:
For an introductory image that spans the full page width with text below it:
If your column is narrow (6 or fewer grid units), the editor layout adjusts automatically to give you more space. You can also use the Expand button on a column to temporarily make it full width while editing, then collapse it back when you are done.
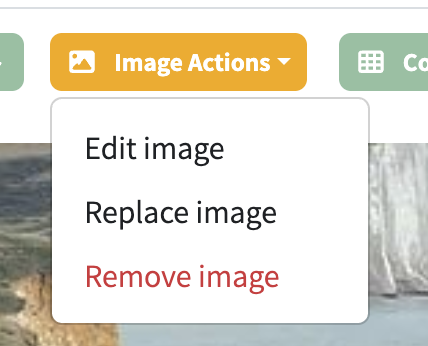
To change an existing in-line image, use the Image Actions dropdown on the column:
Remember to Save the page after making changes.