This change enhances the Walks Import to also support CSV data. Before this change the import was only possible directly from Walks Manager. The format supported by the import is the same as that supported by Ramblers as documented on the Walks Manager home page in their useful links section at the top.
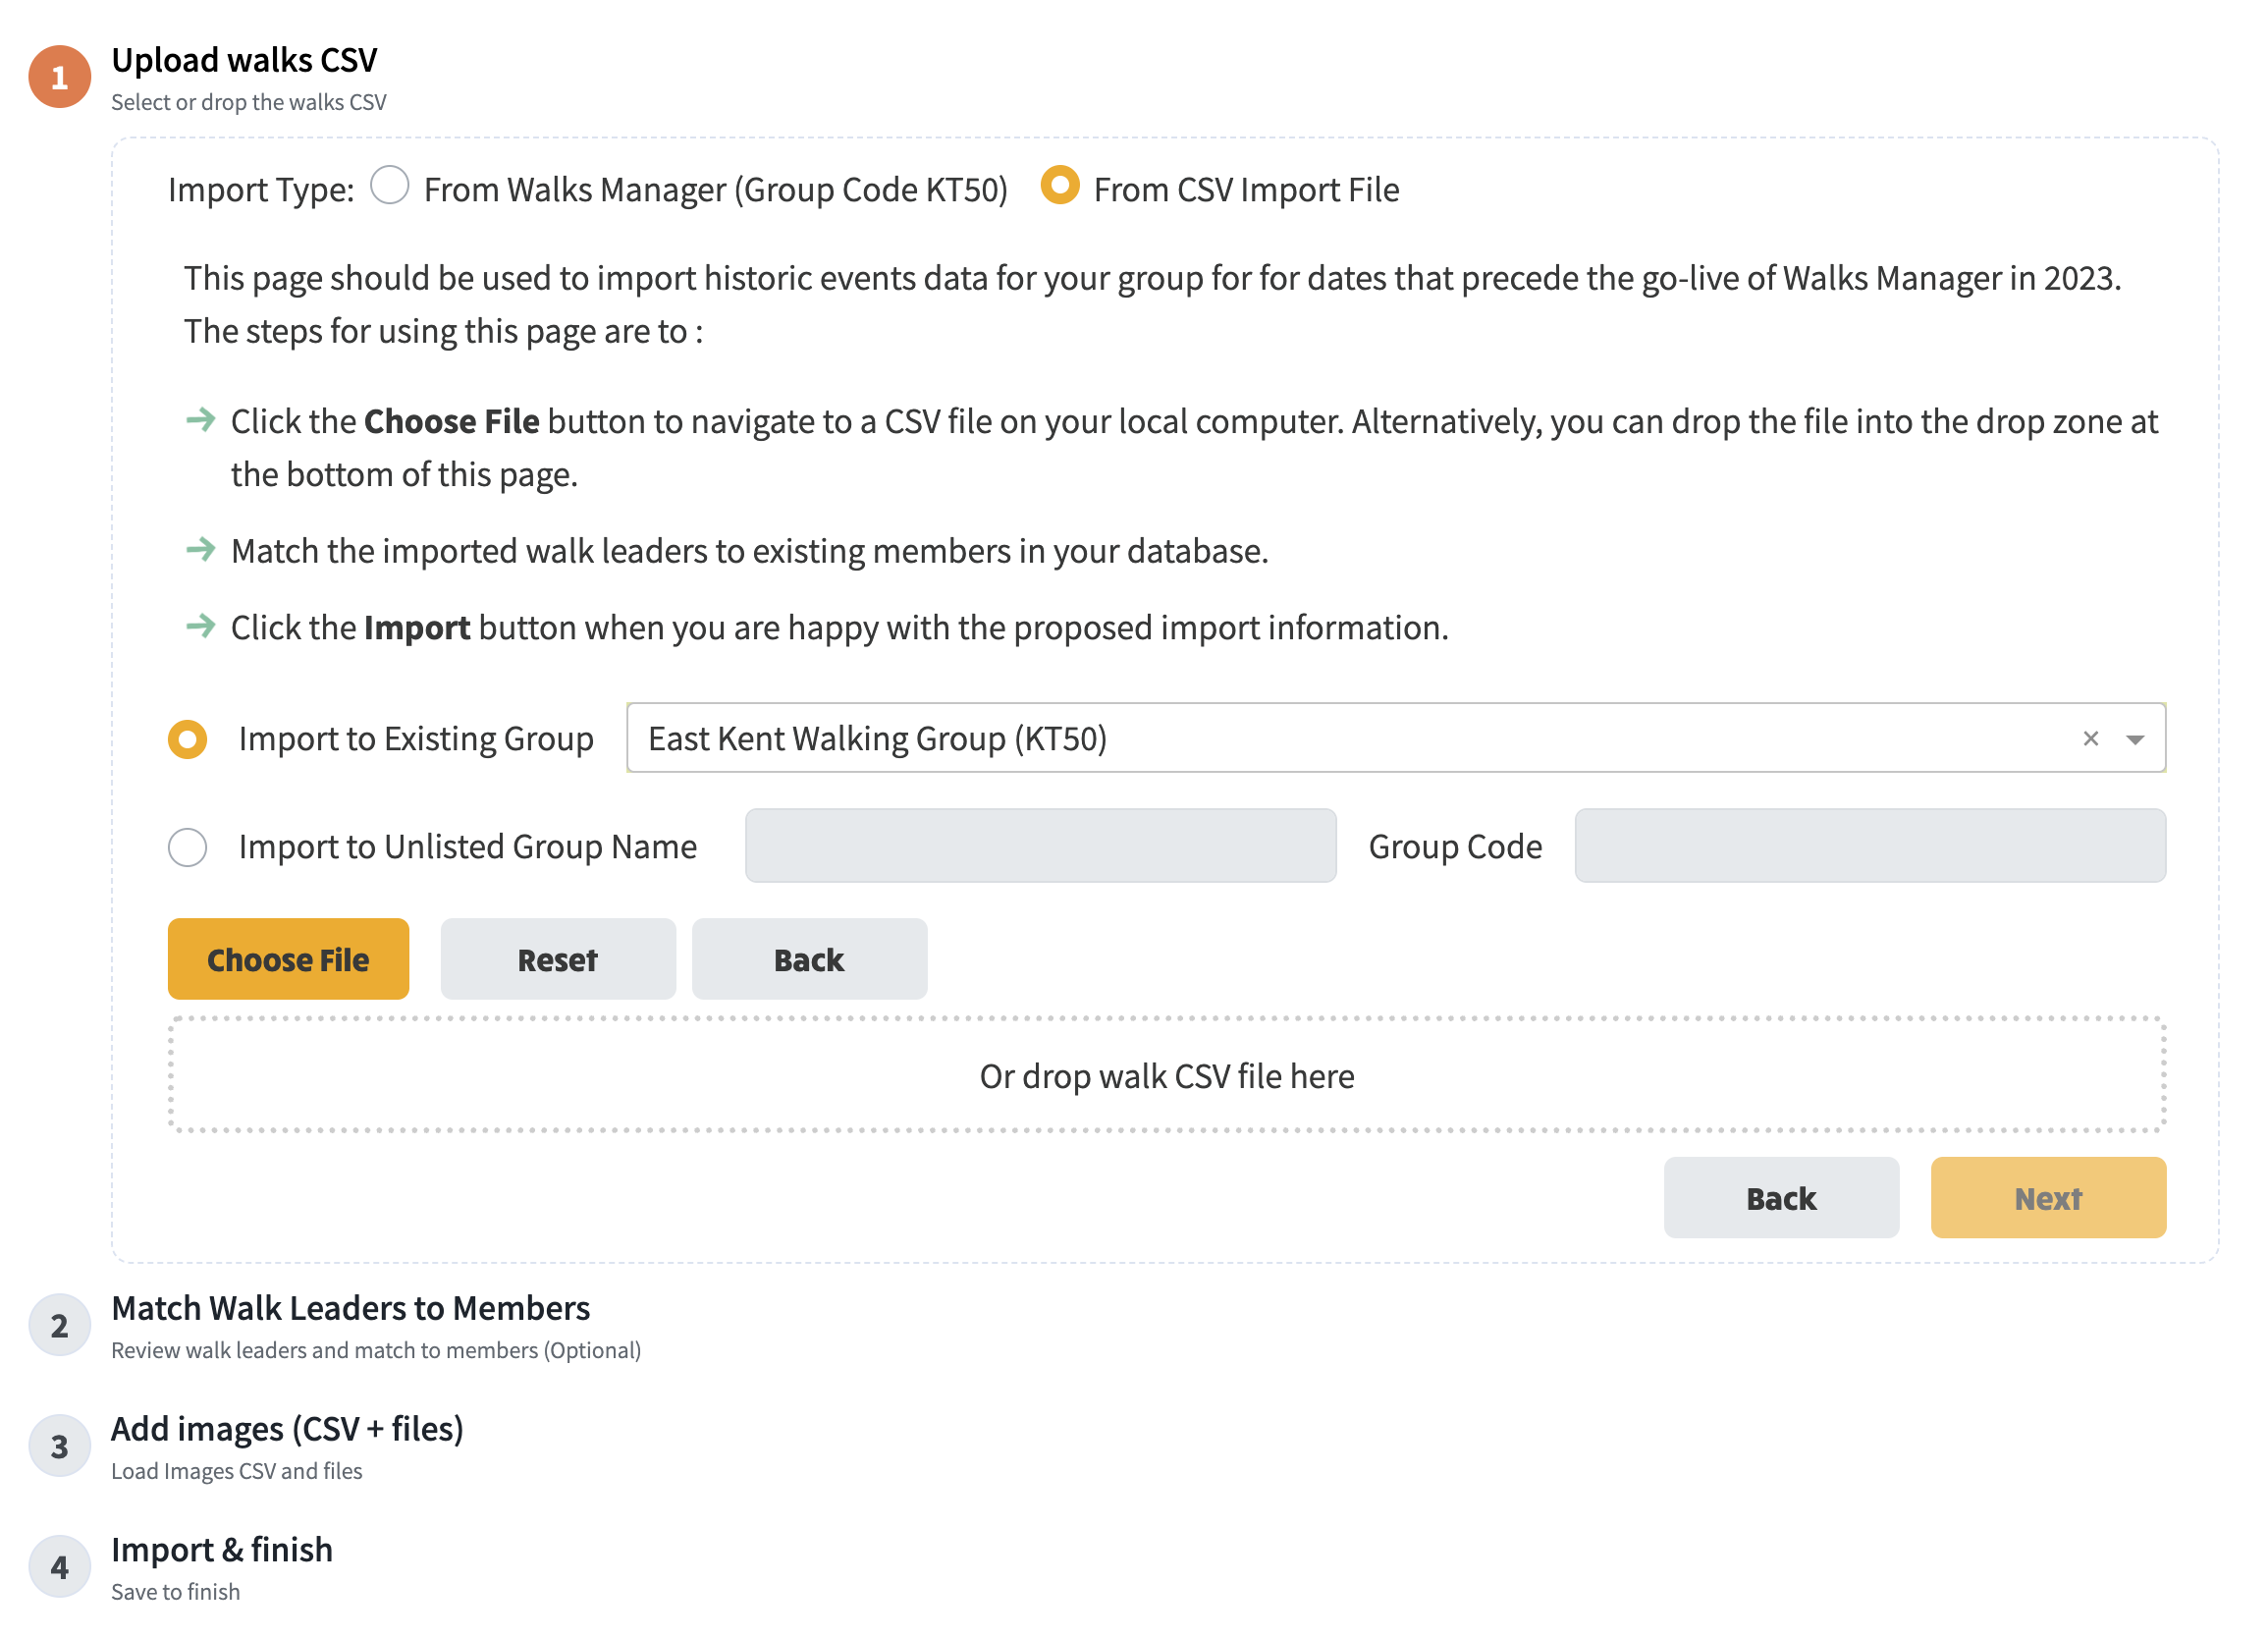
Step 1 - Upload Walks CSV
- The first option is the CSV Import Radio button. When first visited, the default selection is:
- Import Type as From CSV Import File.
- Import to Existing Group radio button with the current group preselected in the autocomplete field:
- At this point you can either click Choose File to navigate to a CSV file on your computer or you can drop the file on the drop zone at the bottom of the screen.
Step 2 - Match Walk Leaders to Members
- When this is done the screen will progress to Step 2 similar to below:
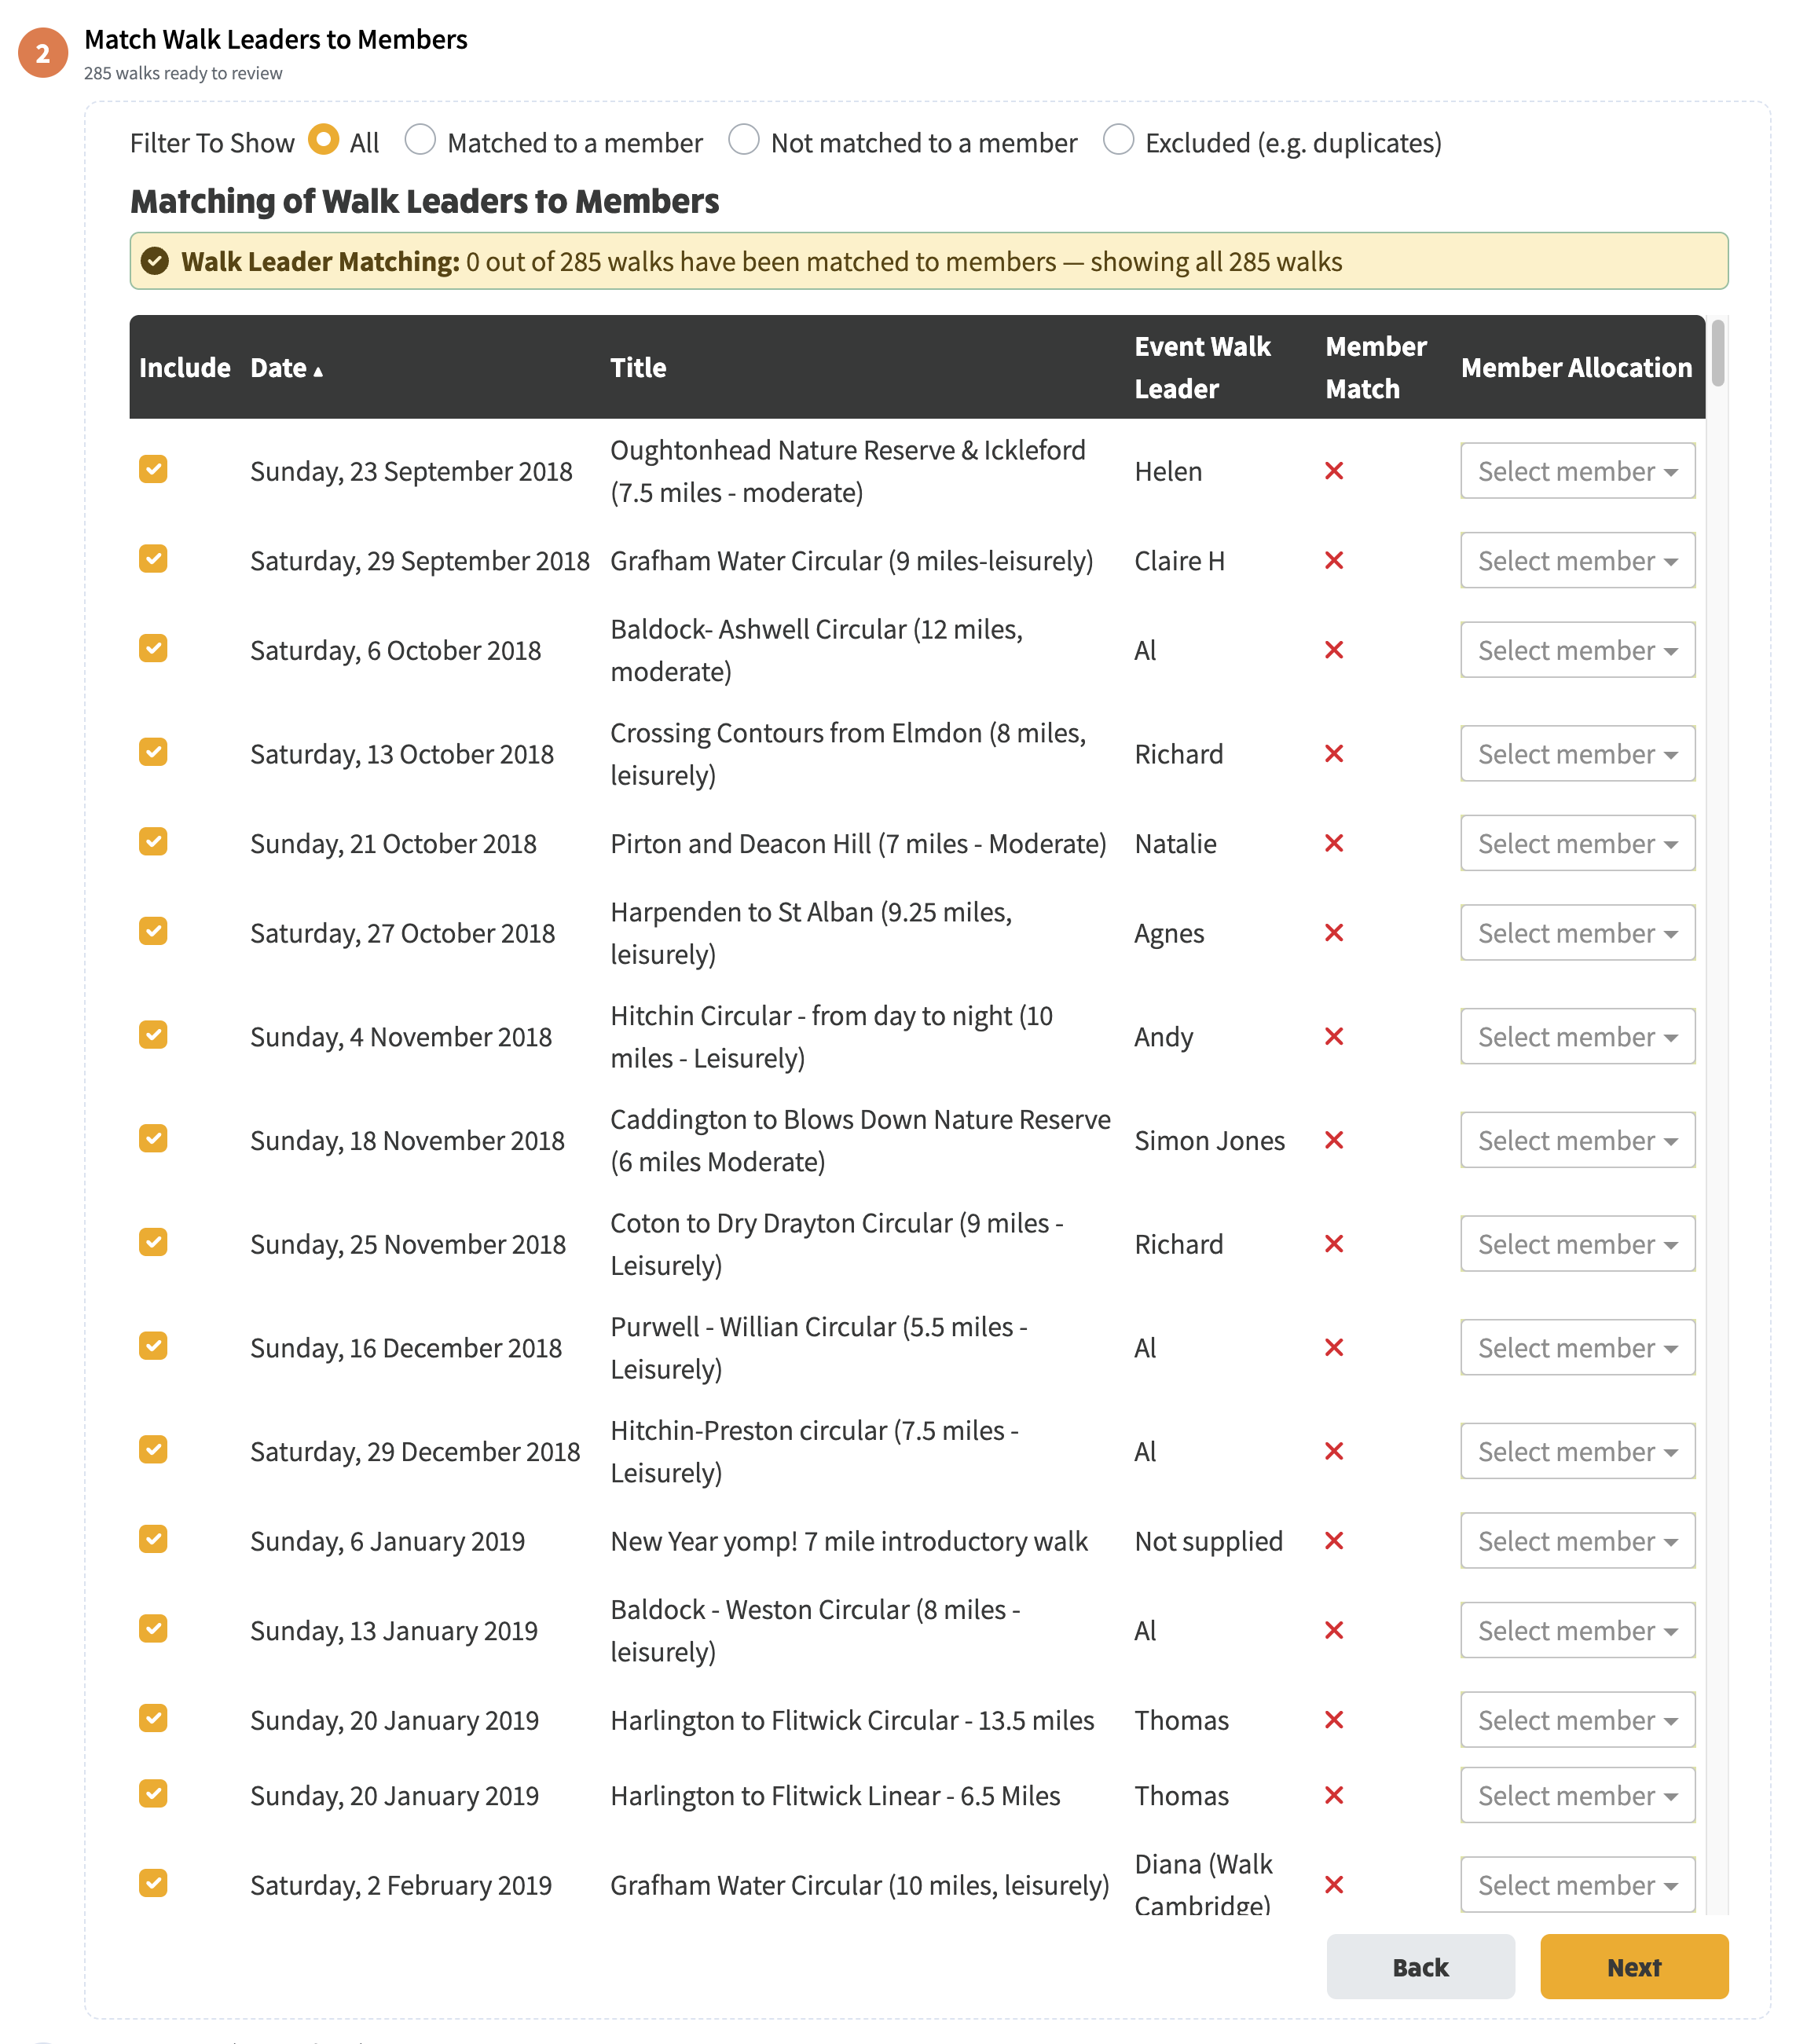
Member Matching
Once the NGX-Ramblers has processed the file and displayed it in a table, the next stage is to perform member matching in order to attempt to match as many import walk leaders to members in your database. The reason why this is valuable is because later on when members are creating new walks, it enables any of the historic walks in the database that they have led to be present in the Create my walk based on an existing one list. The member matching steps are:
- To search in the Member Allocation autocomplete field for a member (nick is shown as initially being entered in the screenshot below)
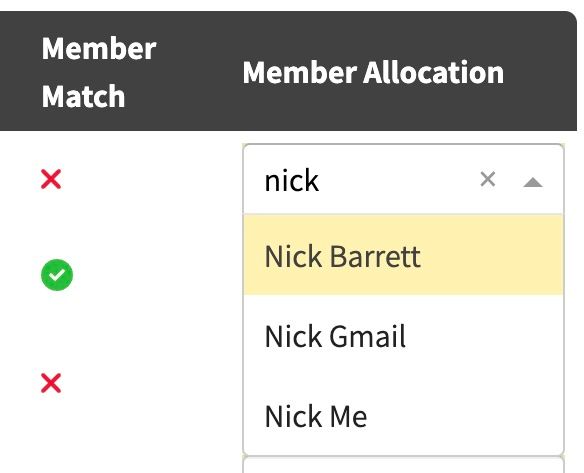
- When the entry is selected the member match field goes from being a red cross to a green tick. If there are any other imported walk leaders with this name (or Not Supplied in the screenshot below), a button appears below the autocomplete field offering to perform matches on all of these too:
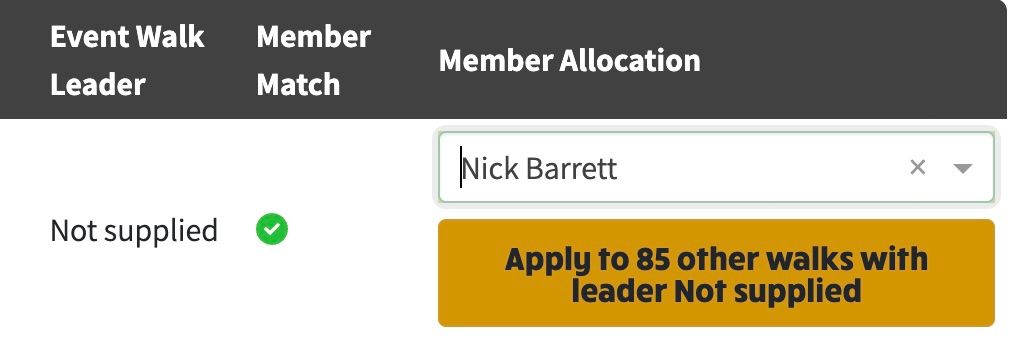
- When the button is clicked, the newly matched members are reflected in the view:
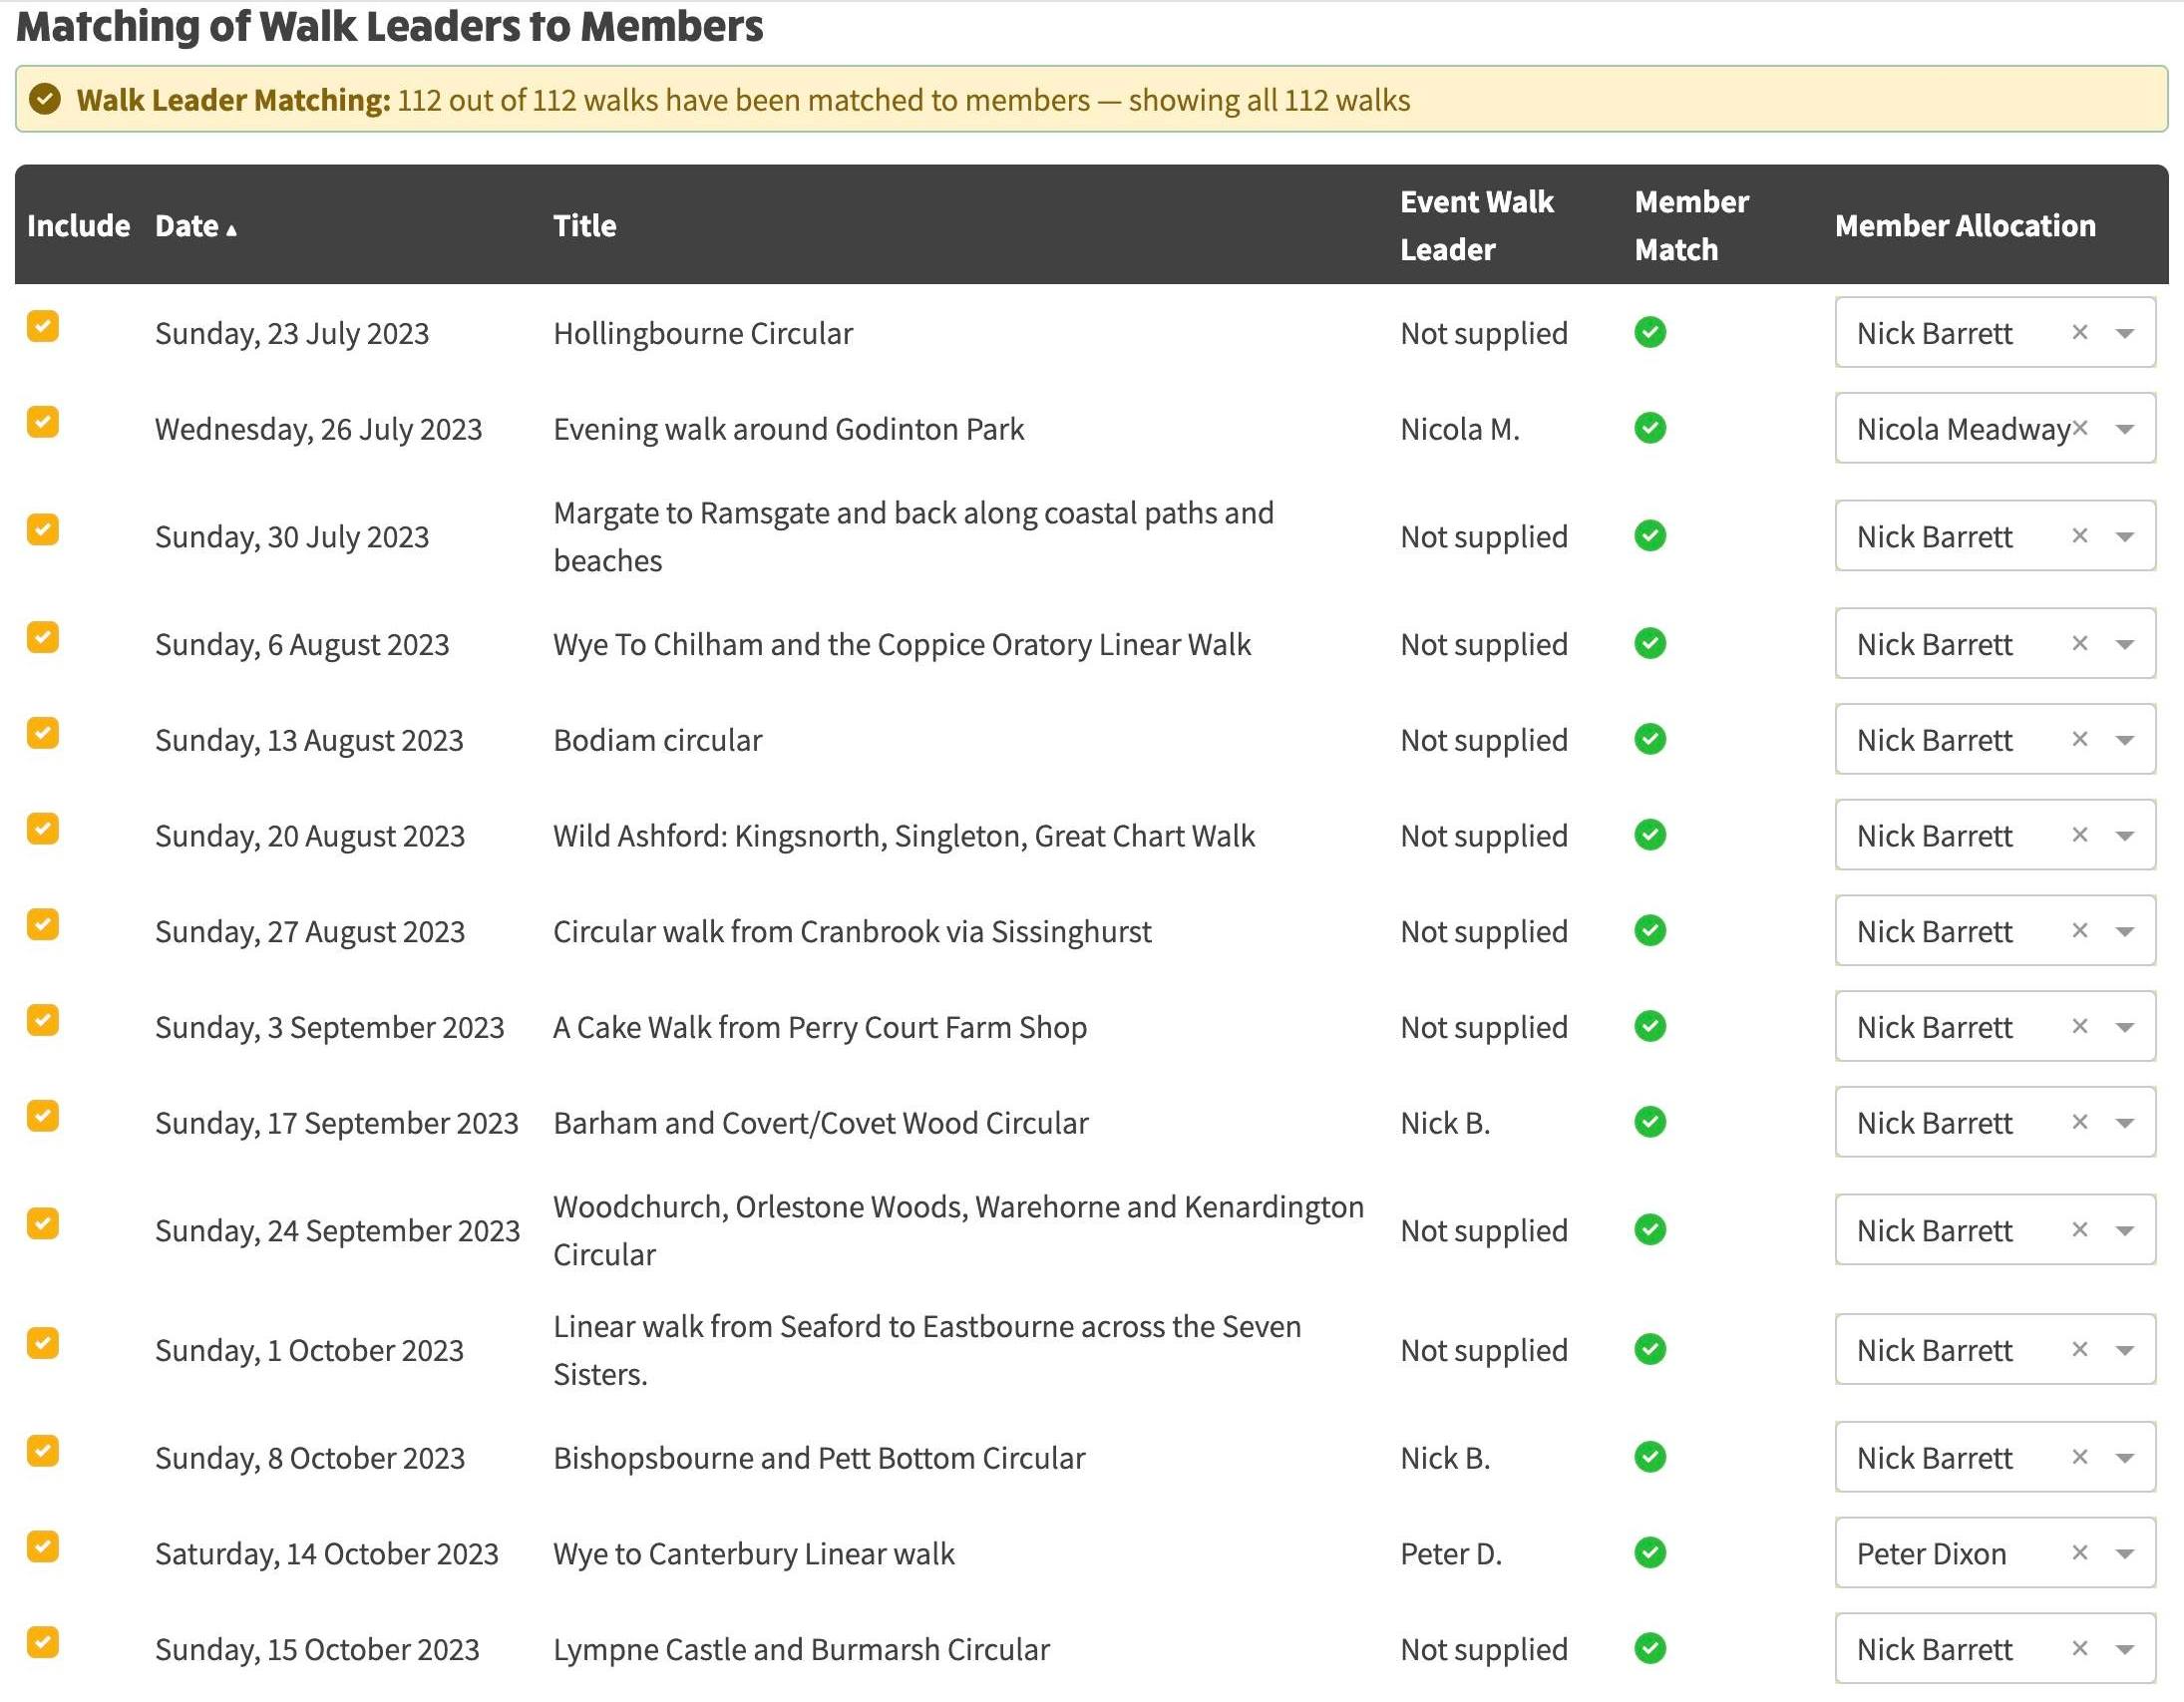
- The above matching process is repeated until as many members have been matched as possible.
Filtering The Import View
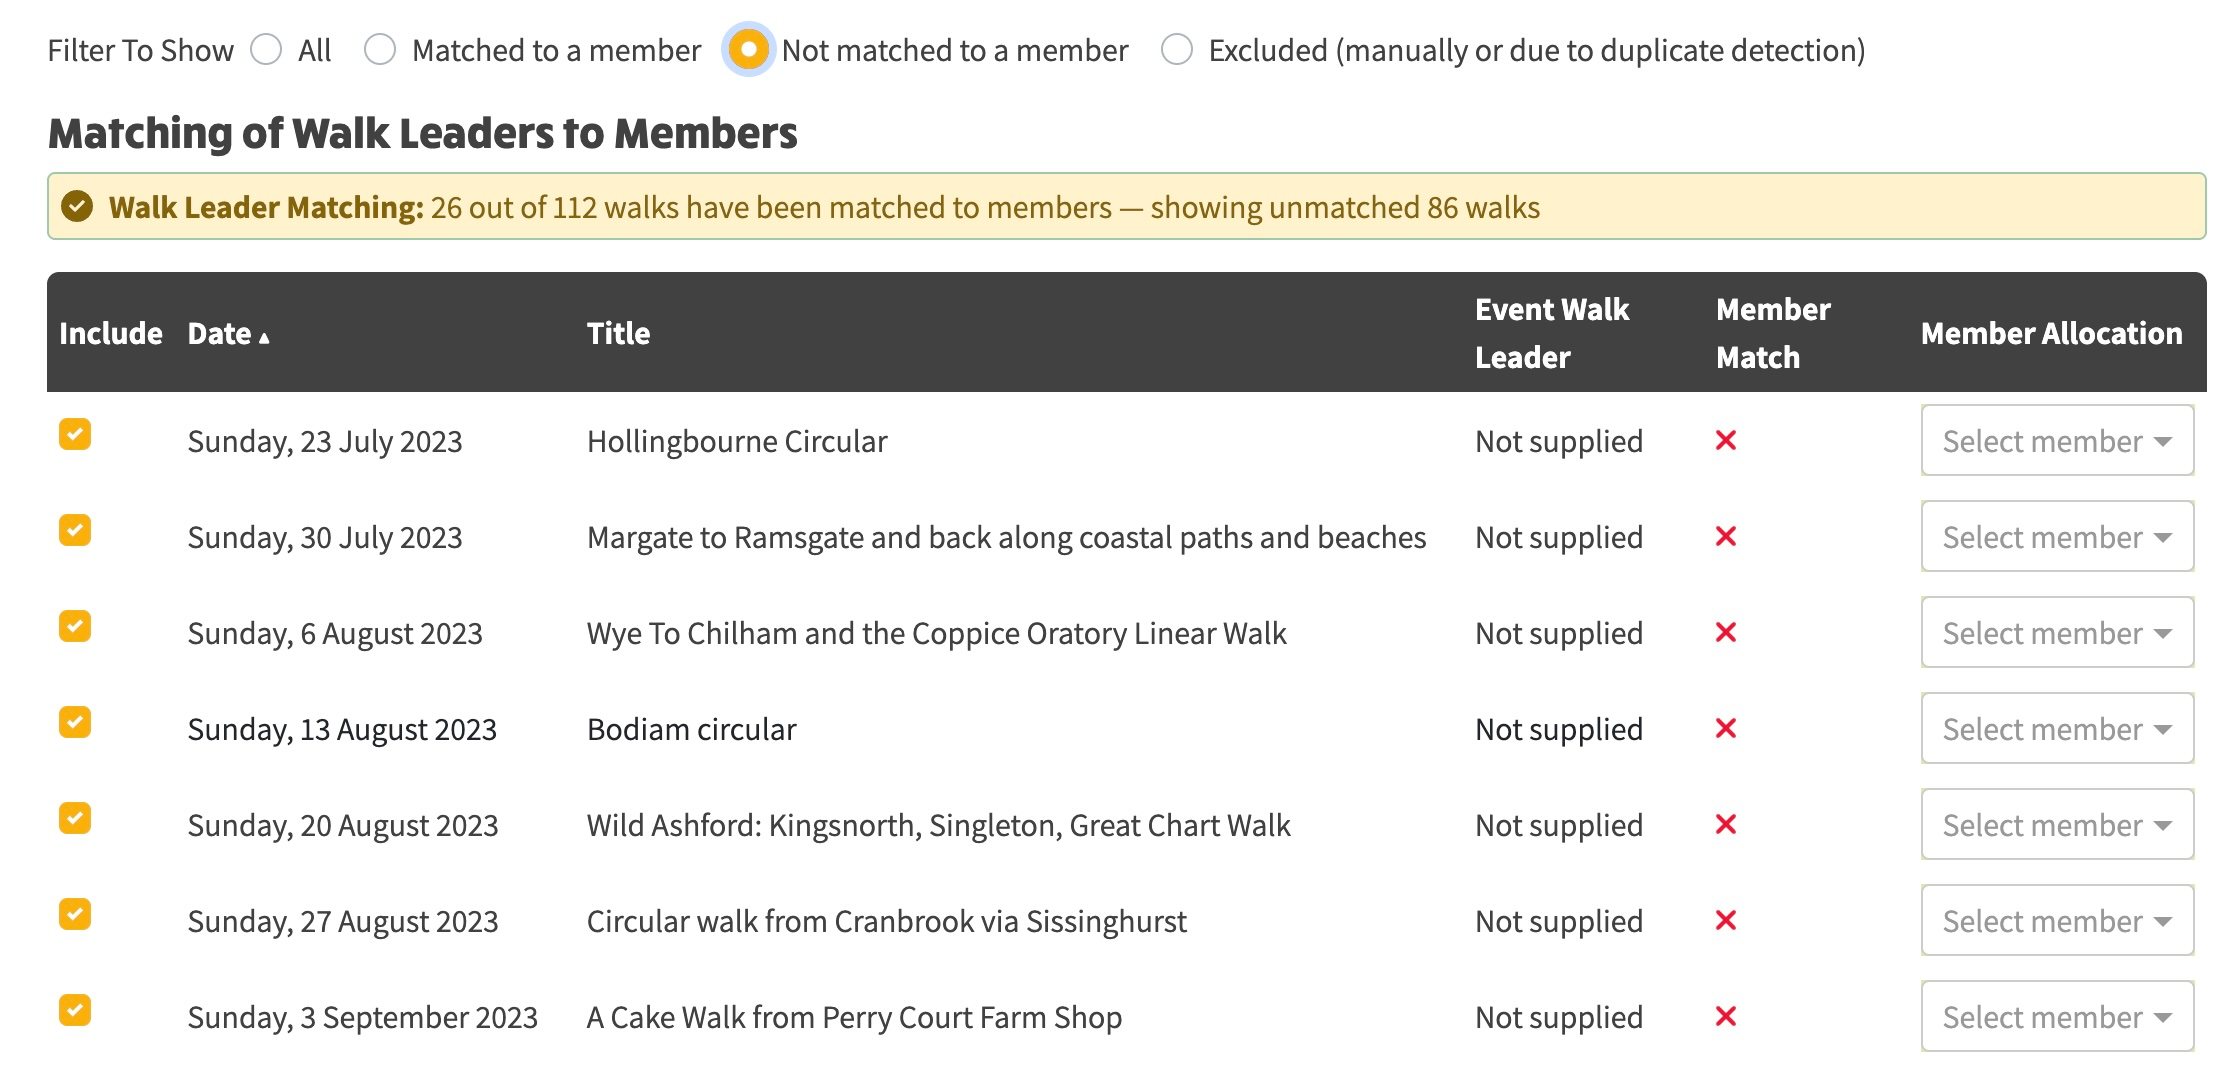
- Note that you can filter the list of unimported events using the radio buttons which can be filtered to show:
- All
- Matched to a member
- Not matched to a member
- Excluded (manually or due to duplicate detection)
- Alternatively you can sort the list by clicking on the column headers:
Importing an unlisted Group
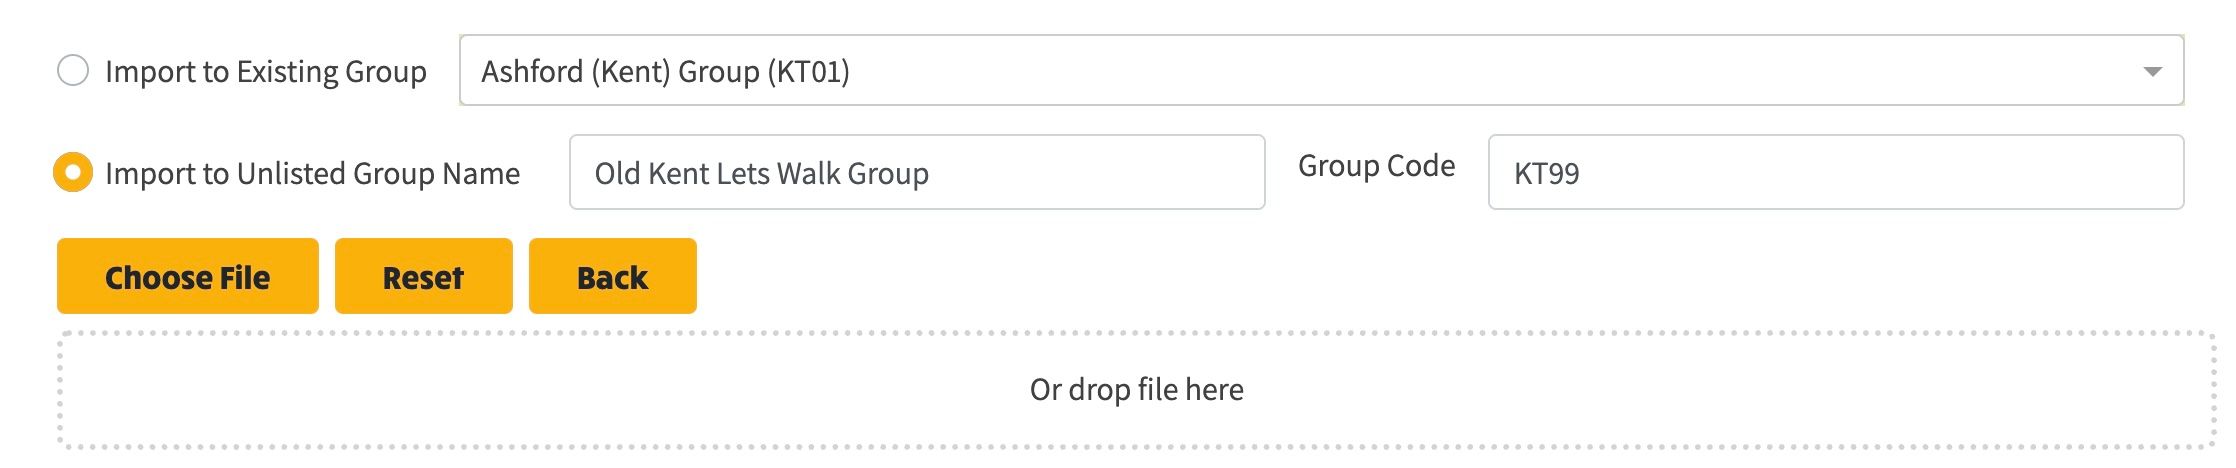
- Because it's possible that a group may wish to import data from a different group (e.g. due to a historic merge of one group into another), the group you wish to import may not exist in the group autocomplete field. For this reason, it's possible to choose the Import to Unlisted Group Name option when you begin the import. The screenshot below shows how a group name and group code can be manually specified:
Step 3 - Add images (CSV + files)
- Once you have done sufficient member matching, you can now click Next at the bottom of the member matching table to move into the next step:
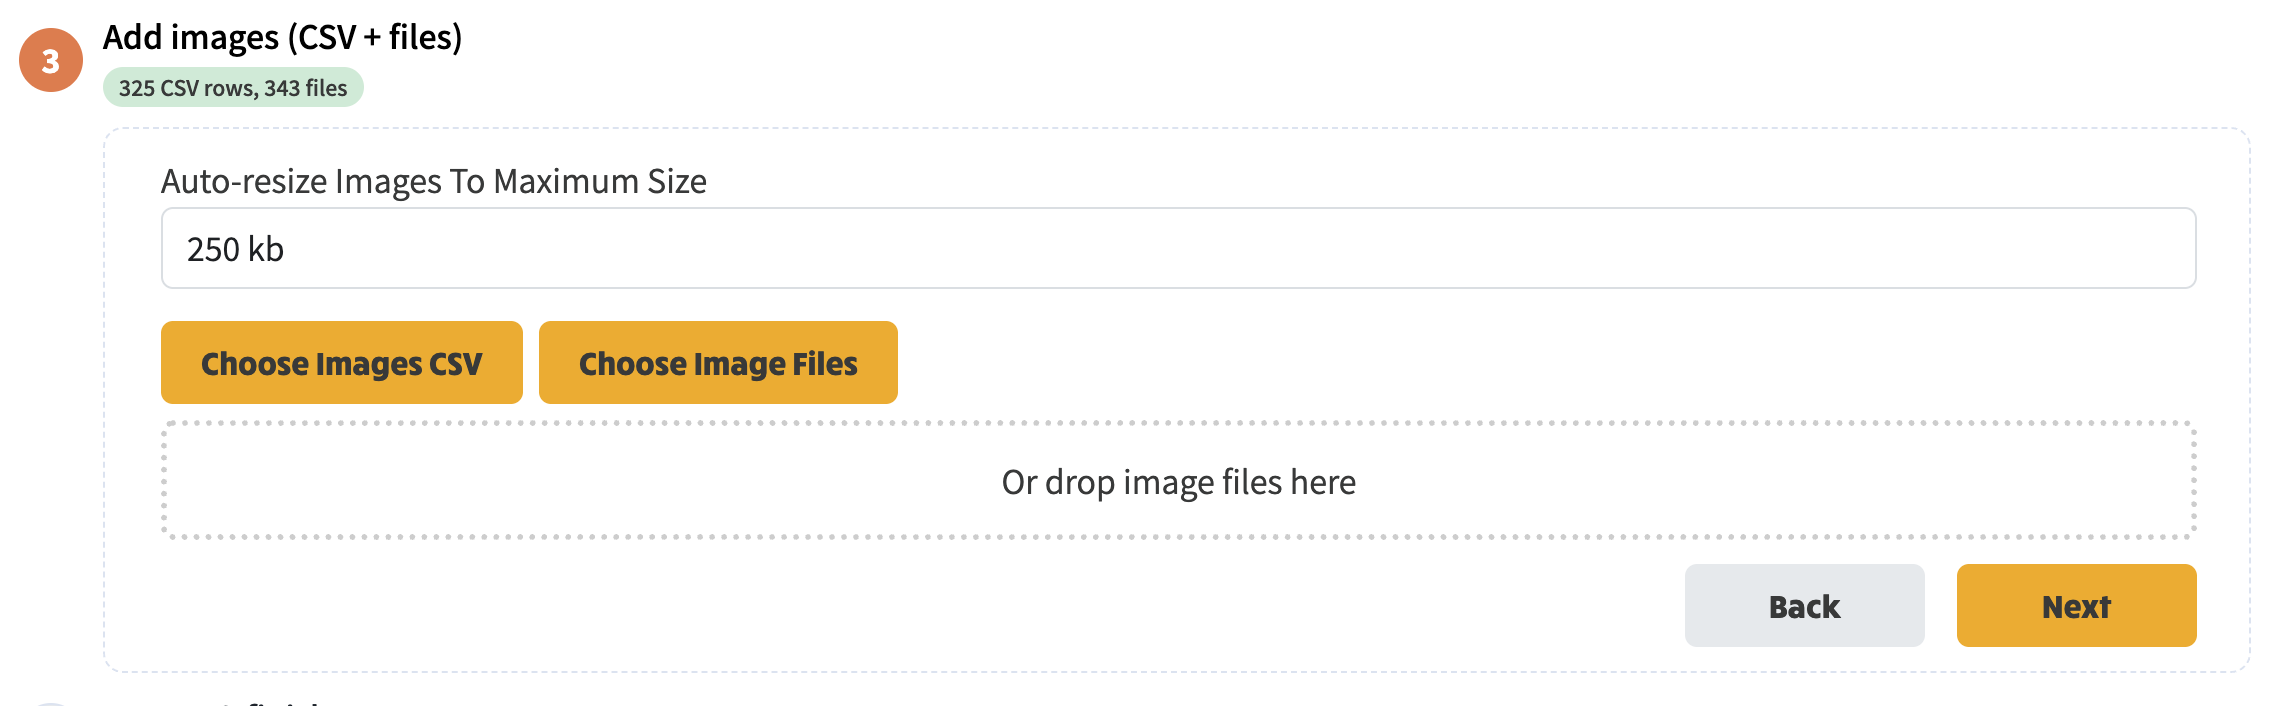
- This is a two step process - first click Choose Images CSV and navigate to the file that has been prepared that associates each image with each walk in Step 1.
- Once the file has been chosen then click Choose Image Files and navigate to the folder that contains all of the images.
- Once you select the folder, then click open to move into the folder and multi-select all image files associated with the walks in Step1
- Once both of the steps have been completed a green badge will be updated under the step heading to indicate the number of CSV rows and files
- Note that it doesn't matter if you select too many images at this stage, the next step will automatically select only the matching files.
- Once you have selected the image files, click Next to move to the next step:
Step 4 - Import & finish
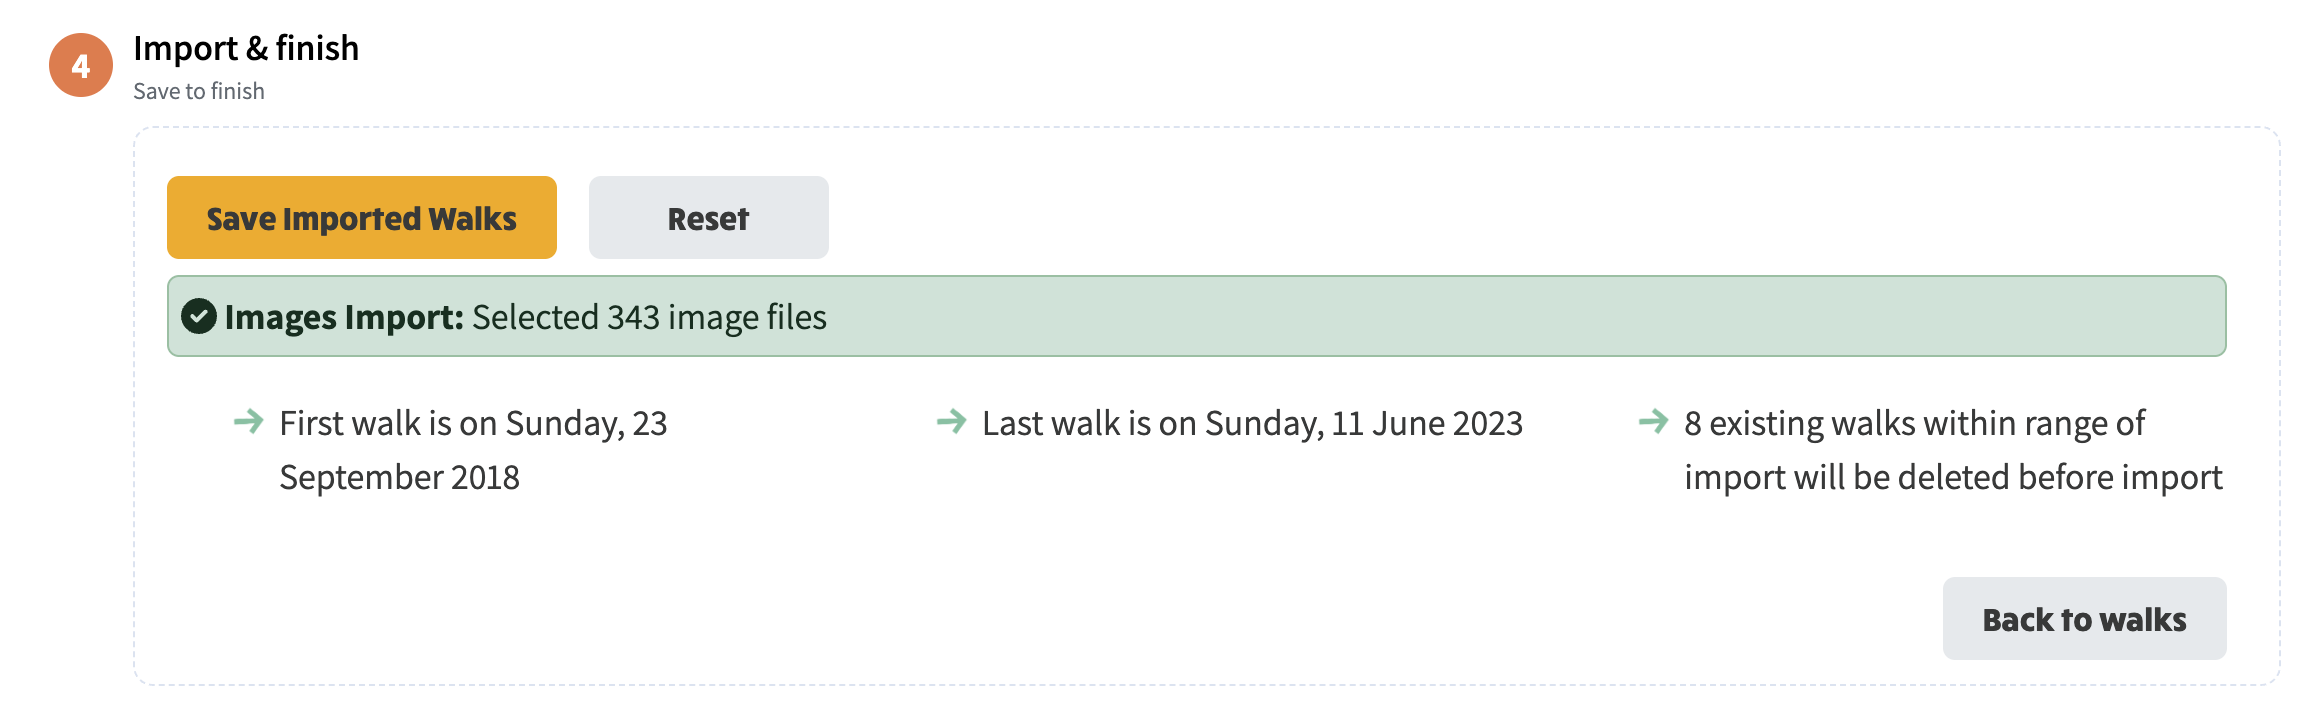
- If you are ready to commence with the Save and import of data, click on the Save Imported Walks button.

- After a short delay, when all walk data is saved, a progress bar is then displayed that shows the progress of each image save:
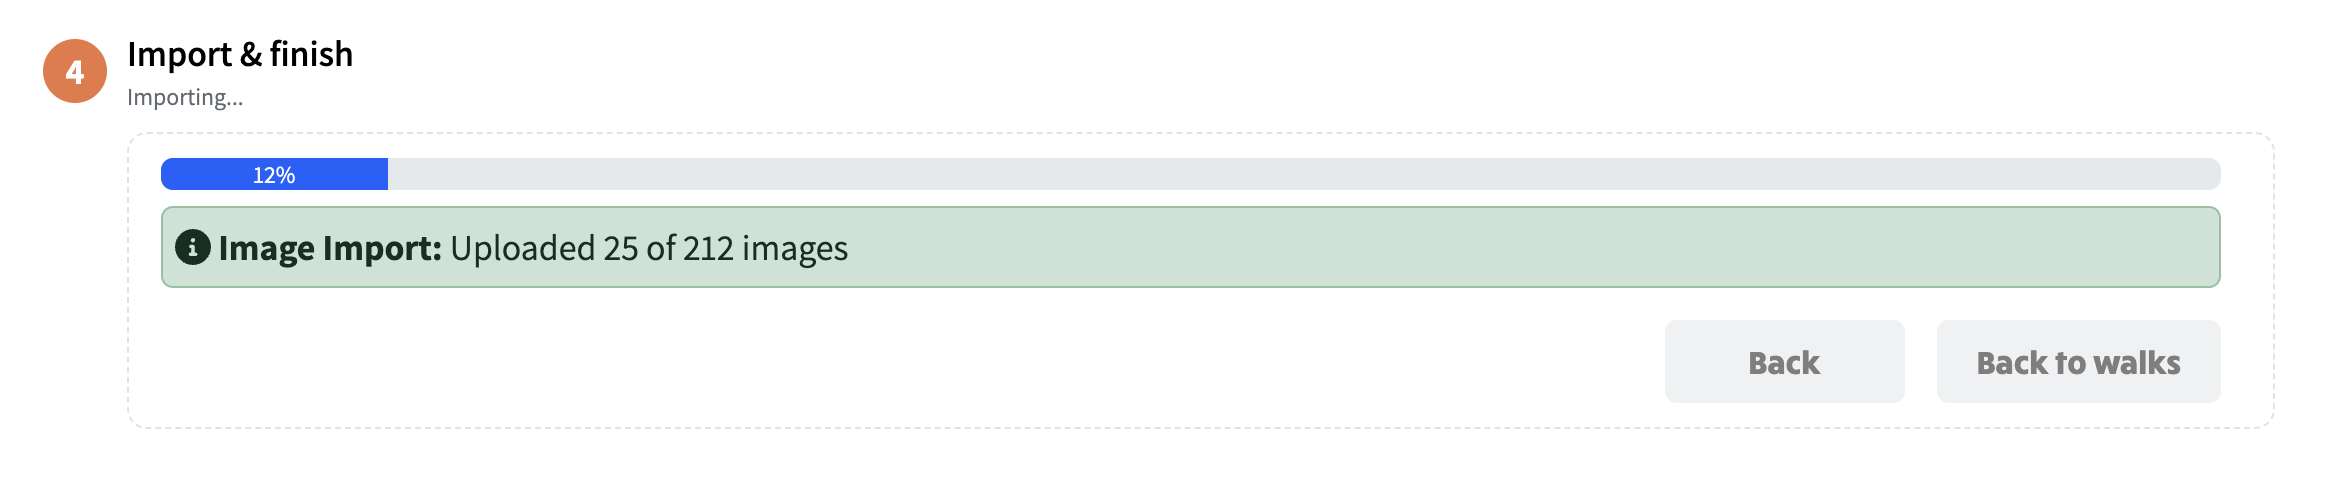
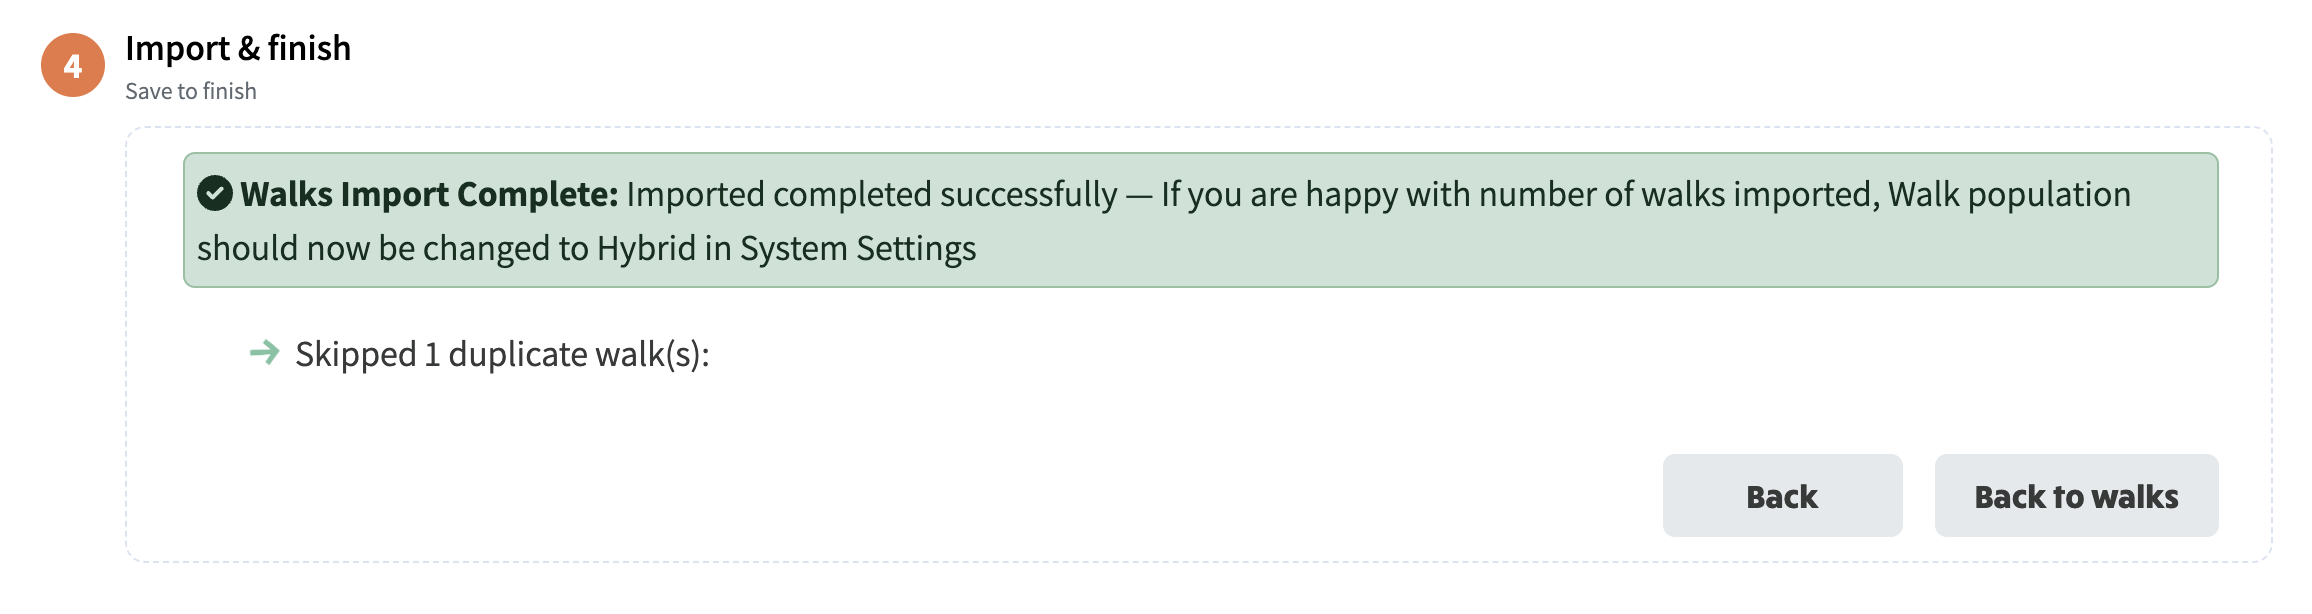
- Once all images are saved, a final alert is then displayed that shows the completion of the import: