This page was updated on 25 August 2026 to match how publishing works now, including walks and social events.
This guide explains what Meta needs before your group or area website can publish to your Facebook Page and Instagram account, and how that same connection powers the on-site Instagram feed. It is written to be followed step by step, because the process is genuinely confusing the first time and Meta's own documentation assumes you already know how their pieces fit together.
Each NGX site manages its own social media. There is no shared central Meta app that all groups hang off: create (or use) a Meta app for this website, connect this site's Page, then publish from this site.
NGX does the fiddly technical parts for you. The usual path is: enter your Meta App ID and App Secret, click Connect Facebook, authorise, pick your Page, and NGX fills in the Page token and linked Instagram account. You can still paste a system-user token under Advanced if you prefer.
The Facebook and Meta screens below are linked so you can click through rather than hunting for them. You will need to be logged in as a Page admin.
You do not need Meta's full App Review to start publishing to a Facebook Page and Instagram account that your group or area runs.
Meta has two levels of access:
Access level is a different switch from app mode. A new Meta app starts in Development mode, and in that mode anything it publishes is visible only to people with a role on the app - members see "This content isn't available". The app must be switched to Live (step 4) before posts are public. That switch needs a privacy policy URL and a few settings, not App Review.
Most of the pain people hit is from assuming the whole thing needs App Review from day one. It does not. Get it working with Standard Access first, prove it end to end, and only take on App Review if you truly need to post to Pages you do not administer.
flowchart TD
  A["Posting to a Facebook Page and Instagram account your group or area administers?"] -->|Yes| B["Standard Access"]
  B --> C["No App Review needed<br/>Add the permissions, switch the app to Live, connect from NGX"]
  A -->|"Need to post to Pages you do NOT administer"| D["Advanced Access"]
  D --> E["Business Verification + App Review<br/>with a screencast per permission"]
  C --> F["Connect Facebook in NGX, then publish albums or events"]
  E --> F
  style B fill:#E8F5EE,stroke:#9BC8AB,stroke-width:2px,rx:12,ry:12,color:#404143
  style D fill:#FBEEDD,stroke:#E0B784,stroke-width:2px,rx:12,ry:12,color:#404143
Once connected, three things use the same Facebook Page token and linked Instagram account:
You will need all of the following. Gather them before touching the developer console. Open Facebook while logged in as a Page admin (log in if you are not).
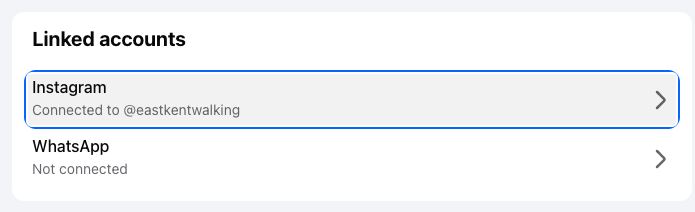
Page settings → Linked accounts: Instagram connected to the group's professional account.

The same Instagram professional account in the Business Portfolio, owned by the group's Page.
Meta's screens mix words like permissions, features, roles and Page roles. In practice:
| Who | What they need it for |
|---|---|
| Facebook Page admin (or someone who can manage posts on the Page) | NGX Connect Facebook only lists Pages that person manages. Check Your Pages and Page roles |
| Meta app admin / developer | Create the app, add Facebook Login and Instagram, grant the six permissions, set the OAuth redirect URI. Start from My Apps |
| NGX site administrator | Enter the App ID and App Secret, click Connect Facebook, switch on the publish toggles, and Save, on System Settings → External → Social Media |
| NGX content administrator | Use Share on an album where Allow Share To Social Media is ticked |
| NGX walk administrator | Use Walks → Admin → Social Media Publishing, and Share on social media on a walk or social event page |
The Instagram account must be a professional account linked to that Page (Linked accounts). Publishing and the site feed both use the Page token plus that linked Instagram account.
This is the path for your Page and Instagram account on your NGX site.
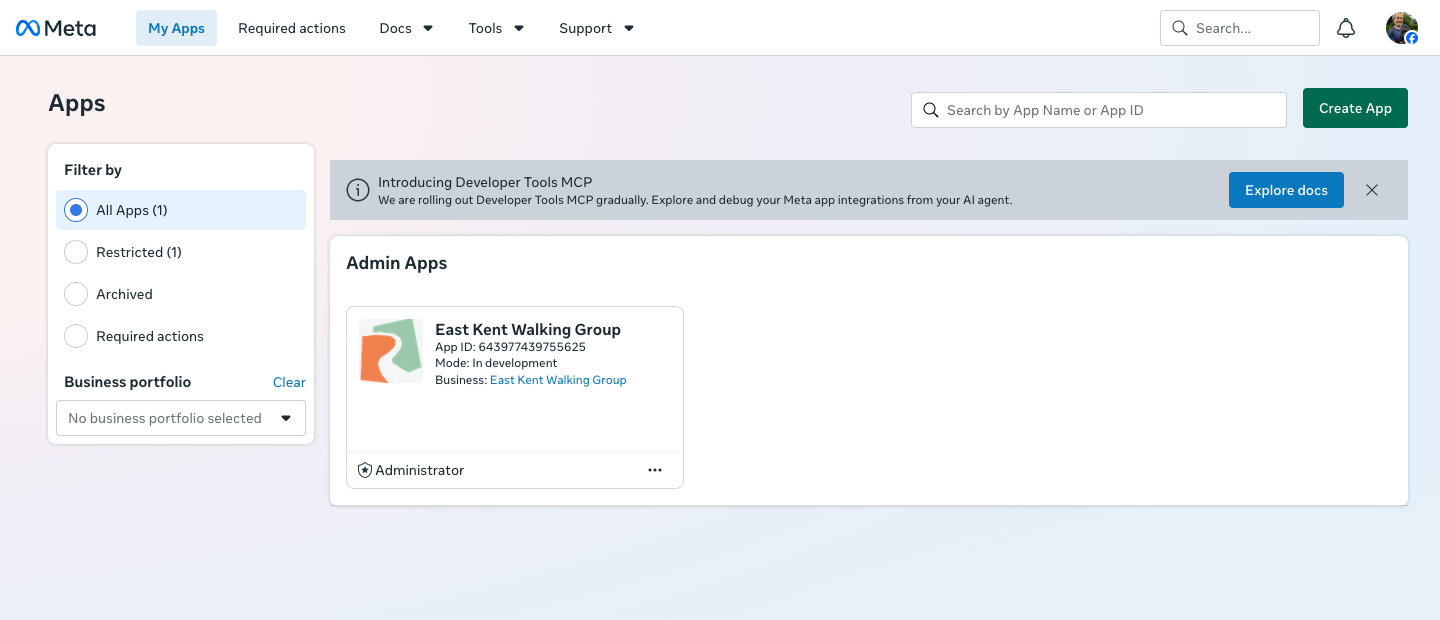
Meta for Developers → My Apps. Create App is top right. Each site has its own app. Switch it to Live (step 4) before members need to see the posts.
Open the app from My Apps, then add:
Meta's current app dashboard groups these as use cases (for example Manage messaging & content on Instagram and Manage everything on your Page), with Facebook Login for Business in the left nav. Use cases are customised from the app Dashboard after you open the app. Meta's note on customising them is Use case customisation.
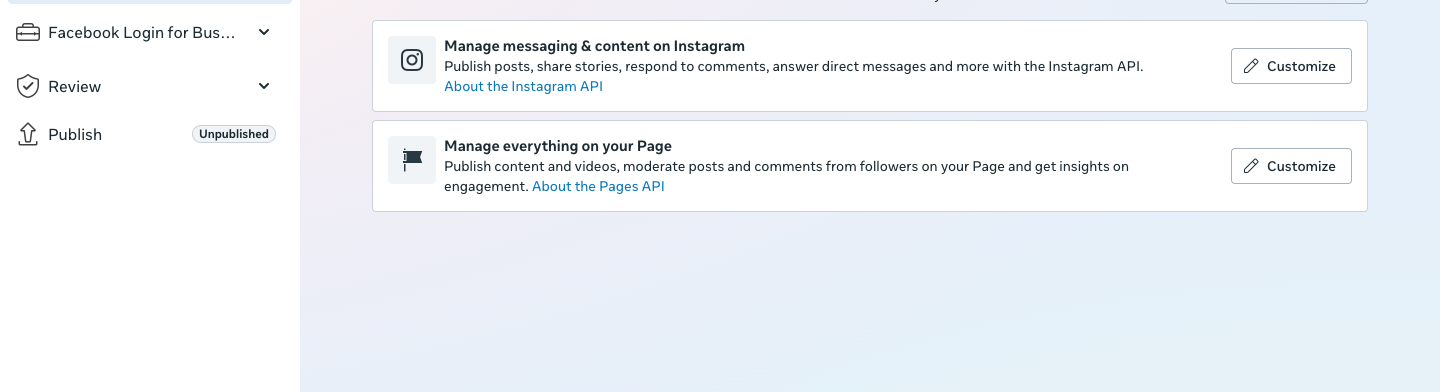
App use cases: Instagram content and Page publishing, with Facebook Login for Business in the sidebar.
Open the app from My Apps. In the left nav, open App Review → Permissions and features (wording varies; newer apps put this under the use case instead). See Meta's permissions reference and access levels. Request Standard Access for:
pages_show_list, pages_read_engagement, pages_manage_posts, instagram_basic, instagram_content_publish, business_management
If Connect Facebook fails with Invalid Scopes: pages_manage_posts (or another name), that permission is not yet available on this app - add it in the dashboard first, then try again. The login dialog only accepts scopes the app has been given.
Also under Facebook Login for Business → Settings in that same app (left nav after you open it from My Apps), add a Valid OAuth Redirect URI that matches this site: the site’s origin plus the System Settings path, for example:
https://www.your-group-site.org.uk/admin/settings/system-settings
Use your real site hostname (whatever members use in the browser), not a developer machine address. NGX sends Facebook the current page origin plus that path, so the URI on the Meta app must match it exactly. Type the URI and then click the entry in the dropdown that appears - pressing Enter leaves plain text that Meta ignores even though it says Changes saved. The Redirect URI Validator at the top of that page confirms the URI is stored. Meta describes this screen in Facebook Login for Business and customise the Page use case.
Copy the App ID and App Secret from App settings → Basic (left nav in the app dashboard). Meta's description of that screen is Basic settings. The browser address looks like https://developers.facebook.com/apps/ then your App ID then /settings/basic/.
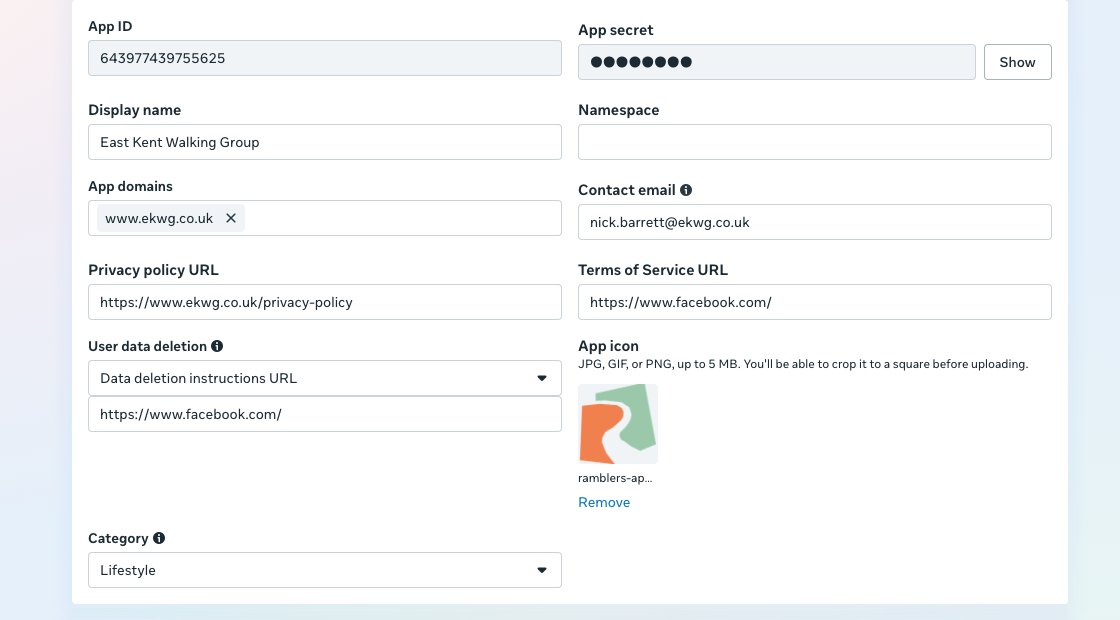
App settings → Basic: App ID and App Secret to paste into NGX, plus the site domain.
Until the app is Live, everything it publishes is visible only to people with a role on the app. Members, and even other Page admins, see "This content isn't available" on the Page and from the site's feed links, while the app admin sees the posts normally and Instagram looks fine. Going Live does not need App Review or Business Verification for your own Page.
www.your-group-site.org.uk) and click the entry in the dropdown that appears so it shows as a chip with an X. Typed text that is not chosen from the dropdown is ignored even though Meta says Changes saved. Then Add platform → Website and set the Site URL to https://www.your-group-site.org.uk/. Save Changes.If you prefer not to use Connect Facebook, you can generate a long-lived or non-expiring system-user Page token in Business settings → System users, then paste it under Advanced in NGX. Meta's notes are System users. That is optional; Connect Facebook is the usual path.
In the NGX admin site, go to System Settings → External → Social Media:
Alternatively open Advanced: paste an access token instead, paste a Page or system-user token from System users, click Find my Pages, choose the Page, enable the toggles, and Save.
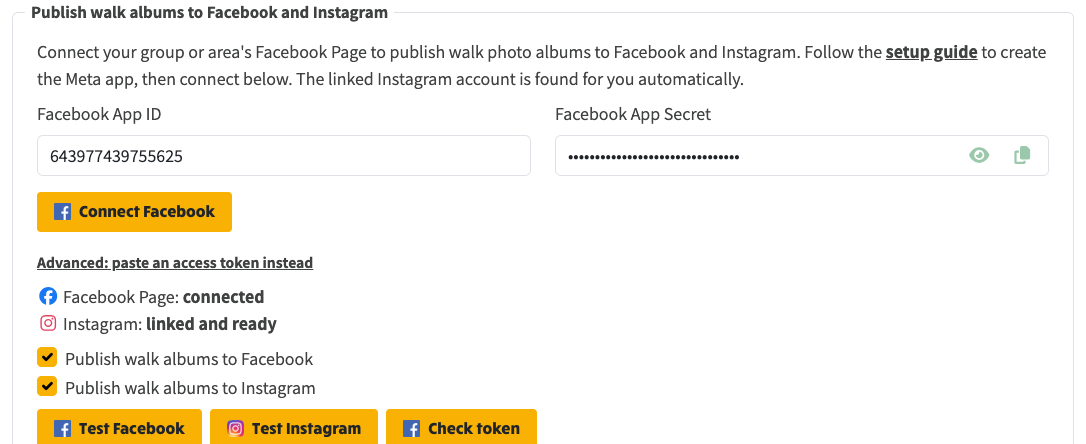
System Settings → External → Social Media: App ID, App Secret, Connect Facebook, album publish toggles and Test buttons.

Advanced option: paste a Page or system-user access token and Find my Pages, if you prefer not to use Connect Facebook.
Once the Page is connected, the same tab also has Publish walks and social events. That block is covered in step 8. Switch those toggles on only when you are ready to post walks and events, then Save again.
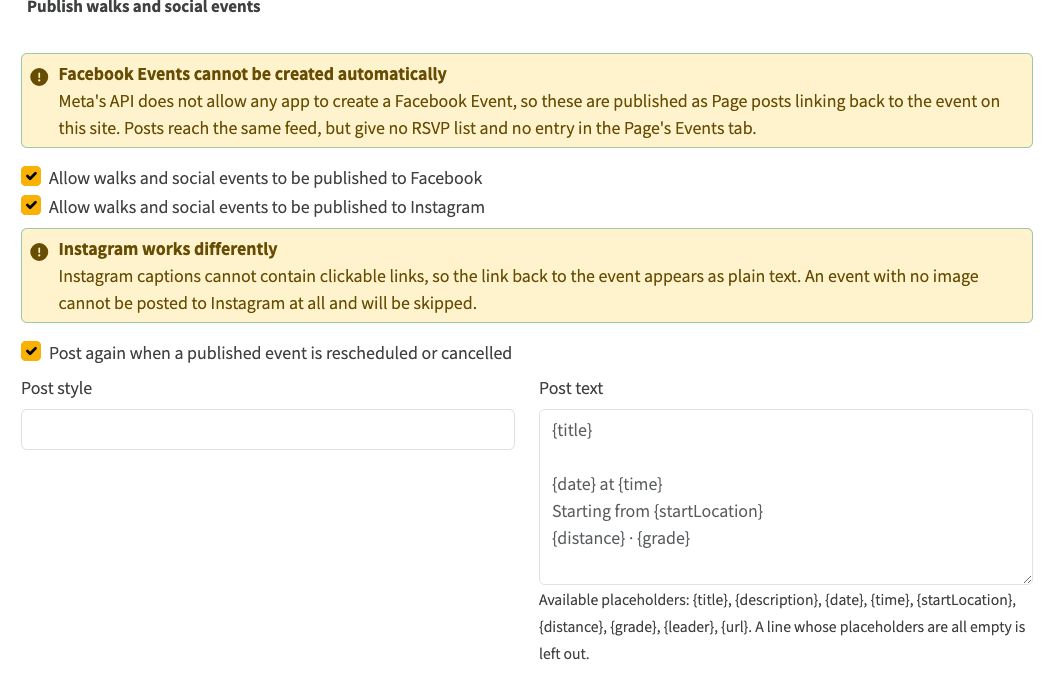
Publish walks and social events: Page posts rather than Facebook Events, optional Instagram, republish on change, post style and caption template.
Share does not appear merely because an album has images.
On the album's Album Settings tab:
Walk photo albums created from a walk page turn Allow Share To Social Media on automatically when album publishing is already enabled for the site. Other albums leave it off until you tick it.
Until publishing is enabled in Social settings, the Share panel explains that setup is still needed. After Connect and Save, a content administrator picks images, writes a caption, and publishes. Check the post on the Page via the Professional dashboard or Business Suite posts, and on Instagram.
Instagram carousels need 2–10 images. The panel warns when a selected image sits outside Instagram's aspect-ratio range (roughly 4:5 to 1.91:1). On publish, NGX crops those images to the nearest supported shape; the album originals are not changed.
The same album cannot be posted twice to the same network. Instagram allows about 25 published posts in any rolling 24 hours.
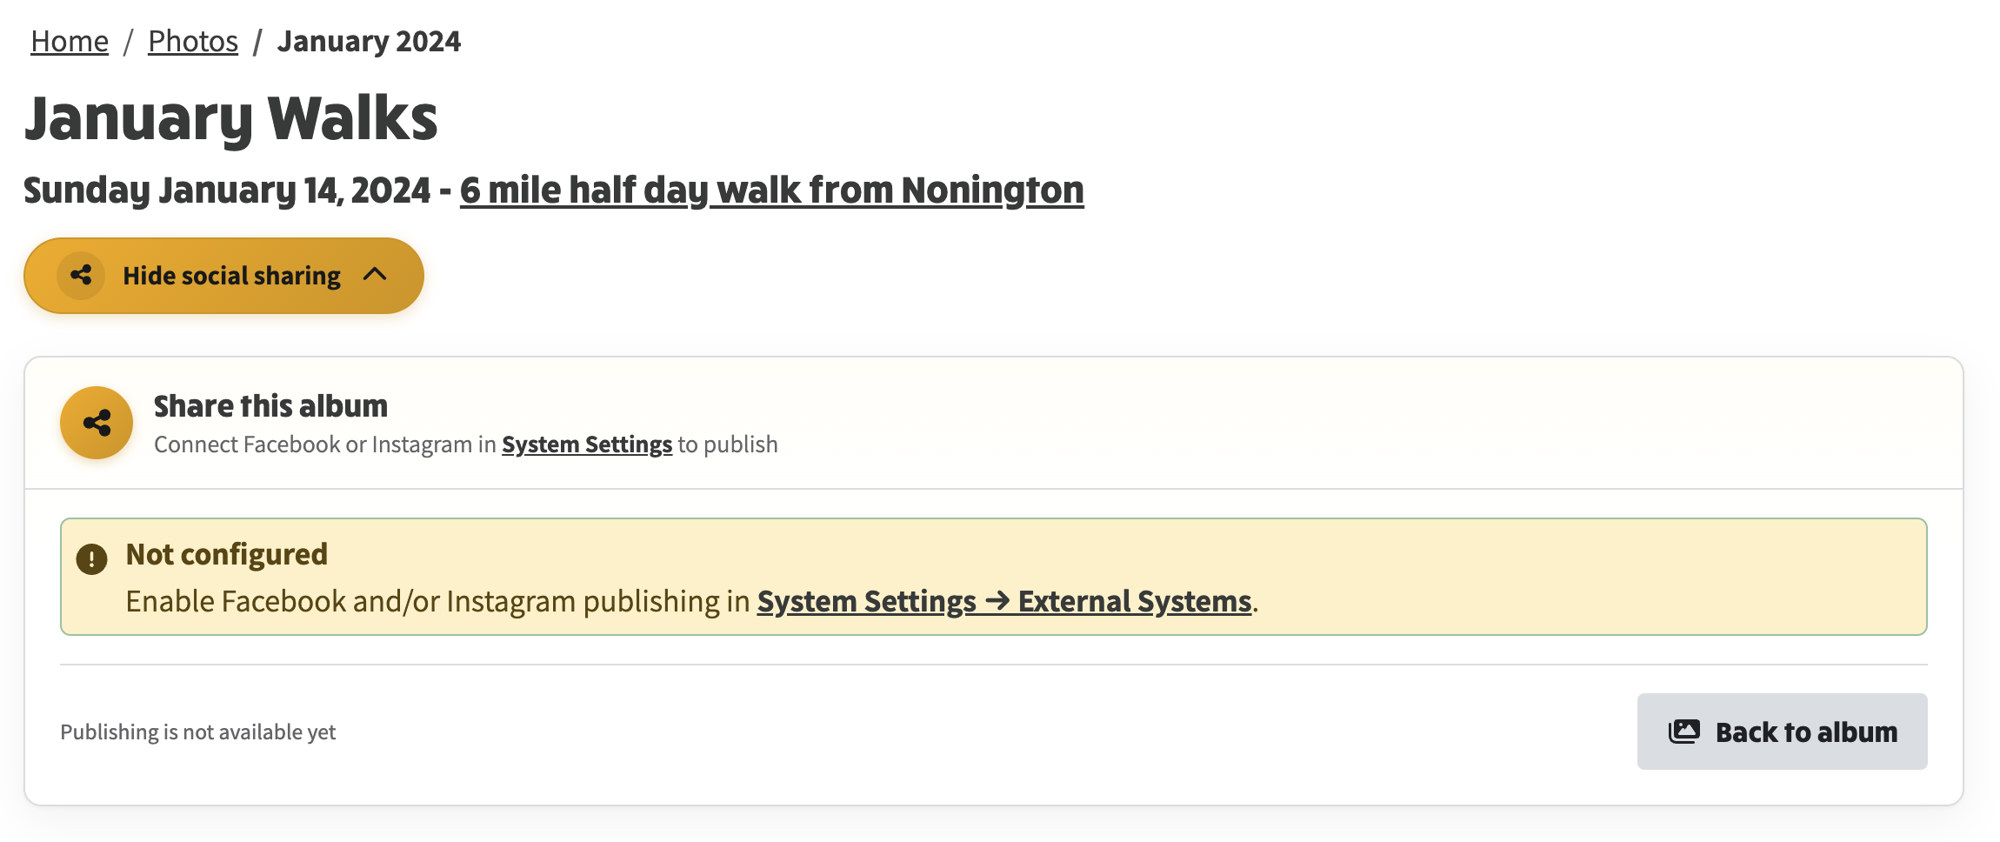
Share this album on a walk photos page. Until publishing is enabled in Social settings, the panel explains that setup is still needed.
These go out as Page posts, not Facebook Events. Meta's API will not create a Facebook Event for any app.
In System Settings → External → Social Media, with the Page connected:
{title}, {description}, {date}, {time}, {startLocation}, {distance}, {grade}, {leader} and {url}. A line whose placeholders are all empty is left out.Instagram captions cannot contain clickable links, so the link back to the event appears as plain text. An event with no image cannot be posted to Instagram at all and is skipped; Facebook can still go out as a link with a preview card.
Walk administrators then publish from Walks → Admin → Social Media Publishing (page title Publish walks and social events to Facebook). Choose a date range, select events, preview the exact wording and photos, and Publish selected. The same action is on a walk or social event page as Share on social media.
After a publish, the posts appear on the Page feed (Professional dashboard, Business Suite posts) and, if enabled, on Instagram.
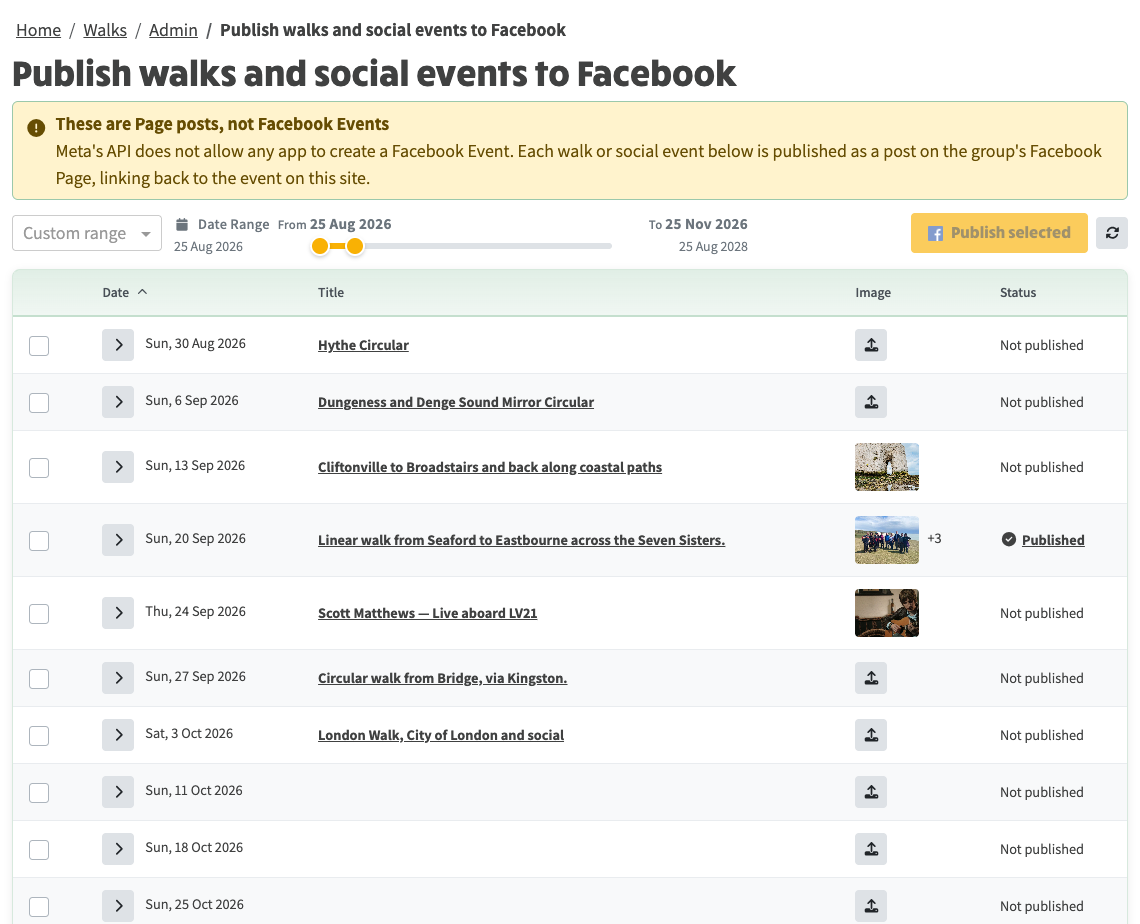
Walks → Admin → Social Media Publishing. These are Page posts linking back to the event on the site, not Facebook Events.
The public Instagram card on the website no longer uses a separate Instagram Basic Display access token. After Connect Facebook (with a linked Instagram professional account on Linked accounts), the feed reads via the Graph API using the same Page token. The Instagram site feed panel only controls the profile link, account name, and Show Instagram Feed.
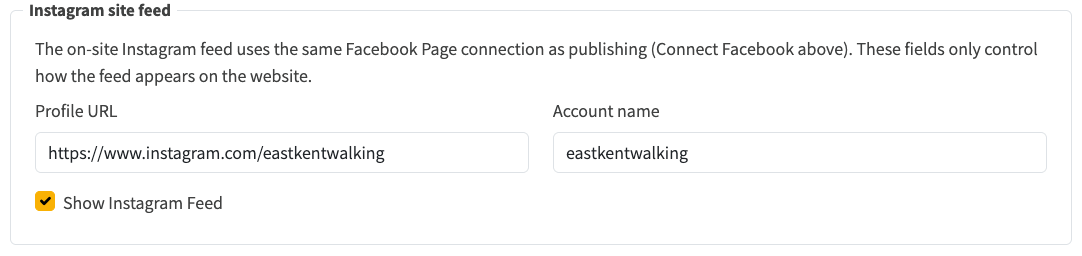
Instagram site feed: profile link, account name and Show Instagram Feed. Media comes from the same Facebook Page connection as publishing.
On System Settings → Area & Group, set Web Url to the public site URL members use.
Meta must fetch album images over HTTPS. When you publish from a machine whose address is localhost, NGX substitutes that Web Url so Facebook and Instagram can load the photos. On a live site (including staging), Meta fetches from the site you are actually on, so Web Url is not substituted there.
If images are rejected, check that Web Url is the public HTTPS address, and that the photos are reachable without logging in. Meta's Sharing Debugger shows what Facebook sees when it fetches a URL.
| Permission | What it does | Access level for your own Page | Needs App Review? |
|---|---|---|---|
pages_show_list |
Lists the Pages you manage | Standard | No |
pages_read_engagement |
Reads Page details | Standard | No |
pages_manage_posts |
Publishes posts to a Page | Standard | Only for Pages you do not administer |
instagram_basic |
Reads the linked Instagram account and media | Standard | No |
instagram_content_publish |
Publishes to Instagram | Standard | Only for accounts you do not administer |
business_management |
Business assets / system users where used | Standard | No |
The permission names are listed in Meta's permissions reference. Standard versus Advanced is explained under access levels.
NGX does for you:
You do once, on the Meta side (for this site):
You do in NGX:
Meta controls:
pages_manage_posts) - the permission has not been added for this Meta app yet. Open the app from My Apps and add it under the use case or App Review → Permissions and features./admin/settings/system-settings). Set it under Facebook Login for Business → Settings after opening the app from My Apps.These open the Facebook or Meta screen you would otherwise have to find. You will need to be logged in.
Once the app exists, open it from My Apps. The left nav then has App settings → Basic (App ID and App Secret), Facebook Login for Business → Settings (Valid OAuth Redirect URI), and the use case or App Review → Permissions and features. The browser address looks like https://developers.facebook.com/apps/ then your App ID, then /settings/basic/ or /fb-login/settings/.